Post by Donkey on Apr 13, 2011 11:13:05 GMT -8
I've talked before about using cardboard boxes as forms, but I've never provided images. I had a guest here a short time ago who wanted a demonstration, so I too pictures this time.
Realize that THIS version is quick and dirty, it can be done with a great deal of finesse. For me, if it can be made to work at it's lowest technological level and roughest form, then the steps up are almost easy.
We started with boxes..
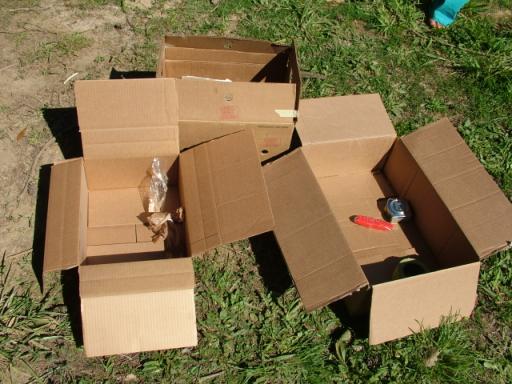
We picked a box around the right size to hold everything in. It wasn't quite tall enough so we added an extension for height. We cut out the front to accept the bottom of the heat riser J.
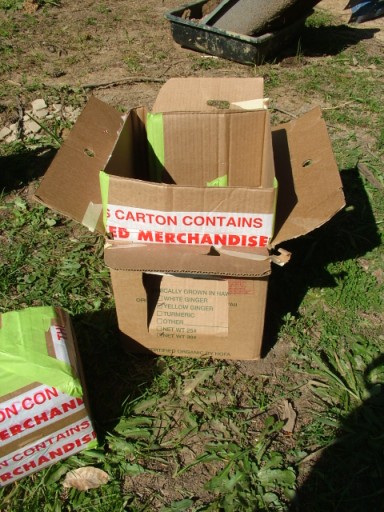
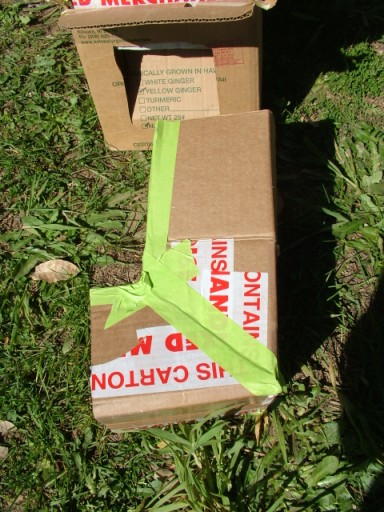
The form for the J tube was made from a box cut open, laid flat, folded into a squarish tube and taped up. The 90 deg. bend was made by cutting a pie wedge out of the tube, folding and taping well. The only tool used was a sharp knife, add a framing square and pencil for neat cuts and an easy guide for cutting out this bit.
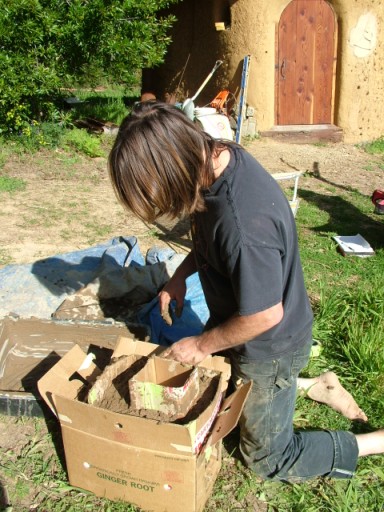
We made a mix of wood ash-clay with a smidge of rice hulls to add body and filled up the form. First we tossed some mix under the elbow form and smooth it a little, then placed the elbow on top and snugged it up to the front opening, finally filling all around up to the top. It helps to gently slap the sided of the outer box, encouraging the mix to settle in. Non-waxed cardboard gets soggy fast, so we filled up the heat riser form with dirt to keep it from sagging.
We waited for it to dry for a bit. It takes a long time for the mix to dry inside the forms. It's better to let it set JUST long enough that it will hold it's shape without the forms. As soon as it seemed good, we started a fire in it and burned out the j-tube form. Even as short as this thing is and as wet as the mix was, it burns quite well.
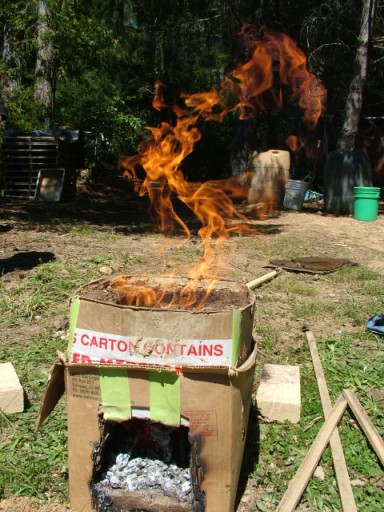
Then we cut the box off the outside. It could be cobbed in, I expect that the cardboard would serve as an expansion joint so it may be beneficial to just leave. At this point, the stove is still quite wet, it could easily be carved, interior and exterior shapes would benefit from some refinement.

It's a goofy looker, but it took less than an hour to build out of free materials (except the tape) and it works very well.
Realize that THIS version is quick and dirty, it can be done with a great deal of finesse. For me, if it can be made to work at it's lowest technological level and roughest form, then the steps up are almost easy.
We started with boxes..

We picked a box around the right size to hold everything in. It wasn't quite tall enough so we added an extension for height. We cut out the front to accept the bottom of the heat riser J.

The form for the J tube was made from a box cut open, laid flat, folded into a squarish tube and taped up. The 90 deg. bend was made by cutting a pie wedge out of the tube, folding and taping well. The only tool used was a sharp knife, add a framing square and pencil for neat cuts and an easy guide for cutting out this bit.

We made a mix of wood ash-clay with a smidge of rice hulls to add body and filled up the form. First we tossed some mix under the elbow form and smooth it a little, then placed the elbow on top and snugged it up to the front opening, finally filling all around up to the top. It helps to gently slap the sided of the outer box, encouraging the mix to settle in. Non-waxed cardboard gets soggy fast, so we filled up the heat riser form with dirt to keep it from sagging.

We waited for it to dry for a bit. It takes a long time for the mix to dry inside the forms. It's better to let it set JUST long enough that it will hold it's shape without the forms. As soon as it seemed good, we started a fire in it and burned out the j-tube form. Even as short as this thing is and as wet as the mix was, it burns quite well.

Then we cut the box off the outside. It could be cobbed in, I expect that the cardboard would serve as an expansion joint so it may be beneficial to just leave. At this point, the stove is still quite wet, it could easily be carved, interior and exterior shapes would benefit from some refinement.

It's a goofy looker, but it took less than an hour to build out of free materials (except the tape) and it works very well.


