|
|
Post by coupe1942 on Dec 29, 2015 19:40:30 GMT -8
In the new home I'll be moving to soon, I really can't see any way to have a big fire there in order to burn the paint off of a stock 55 gallon drum. I do have a grinder, but that seems to be a bit noisy and labor intensive. Not interested in media blasting or sand blasting, as the cost steers me clear of that. I do have some chemicals to remove paint, but I really hate making a big chemical mess when doing this project. Other than simply burning off the paint on the barrel, is there really a good way to remove it that is pretty simplistic and not such a mess. I am thinking that the grinder will likely be the fastest way, but just wondered if anyone had tried and succeeded with any other method? Unfortunately, my bar-b-que pit is just not big enough to handle a 55 gallon drum on the grille. Any tips to offer as to the best method short of burning off the old paint?
|
|
|
|
Post by DCish on Dec 29, 2015 20:22:35 GMT -8
Hmmm. Maybe a crude j-tube with a stack of bricks on either side to support the barrel on top? You could rotate and move the barrel as paint gets burned off a particular spot.
|
|
|
|
Post by satamax on Dec 29, 2015 21:45:43 GMT -8
Best way i've found, is to build a 55 gal pocket rocket with your barrel. Wrap it with glass wool or rockwool batts. And dset fire to it. The whole thing gets red hot in no time. Mind you, do this outside, away from tarmac. And in a spot where you can hoover easily, as the insulation dies in the process.
|
|
|
|
Post by plcnut on Dec 30, 2015 4:03:43 GMT -8
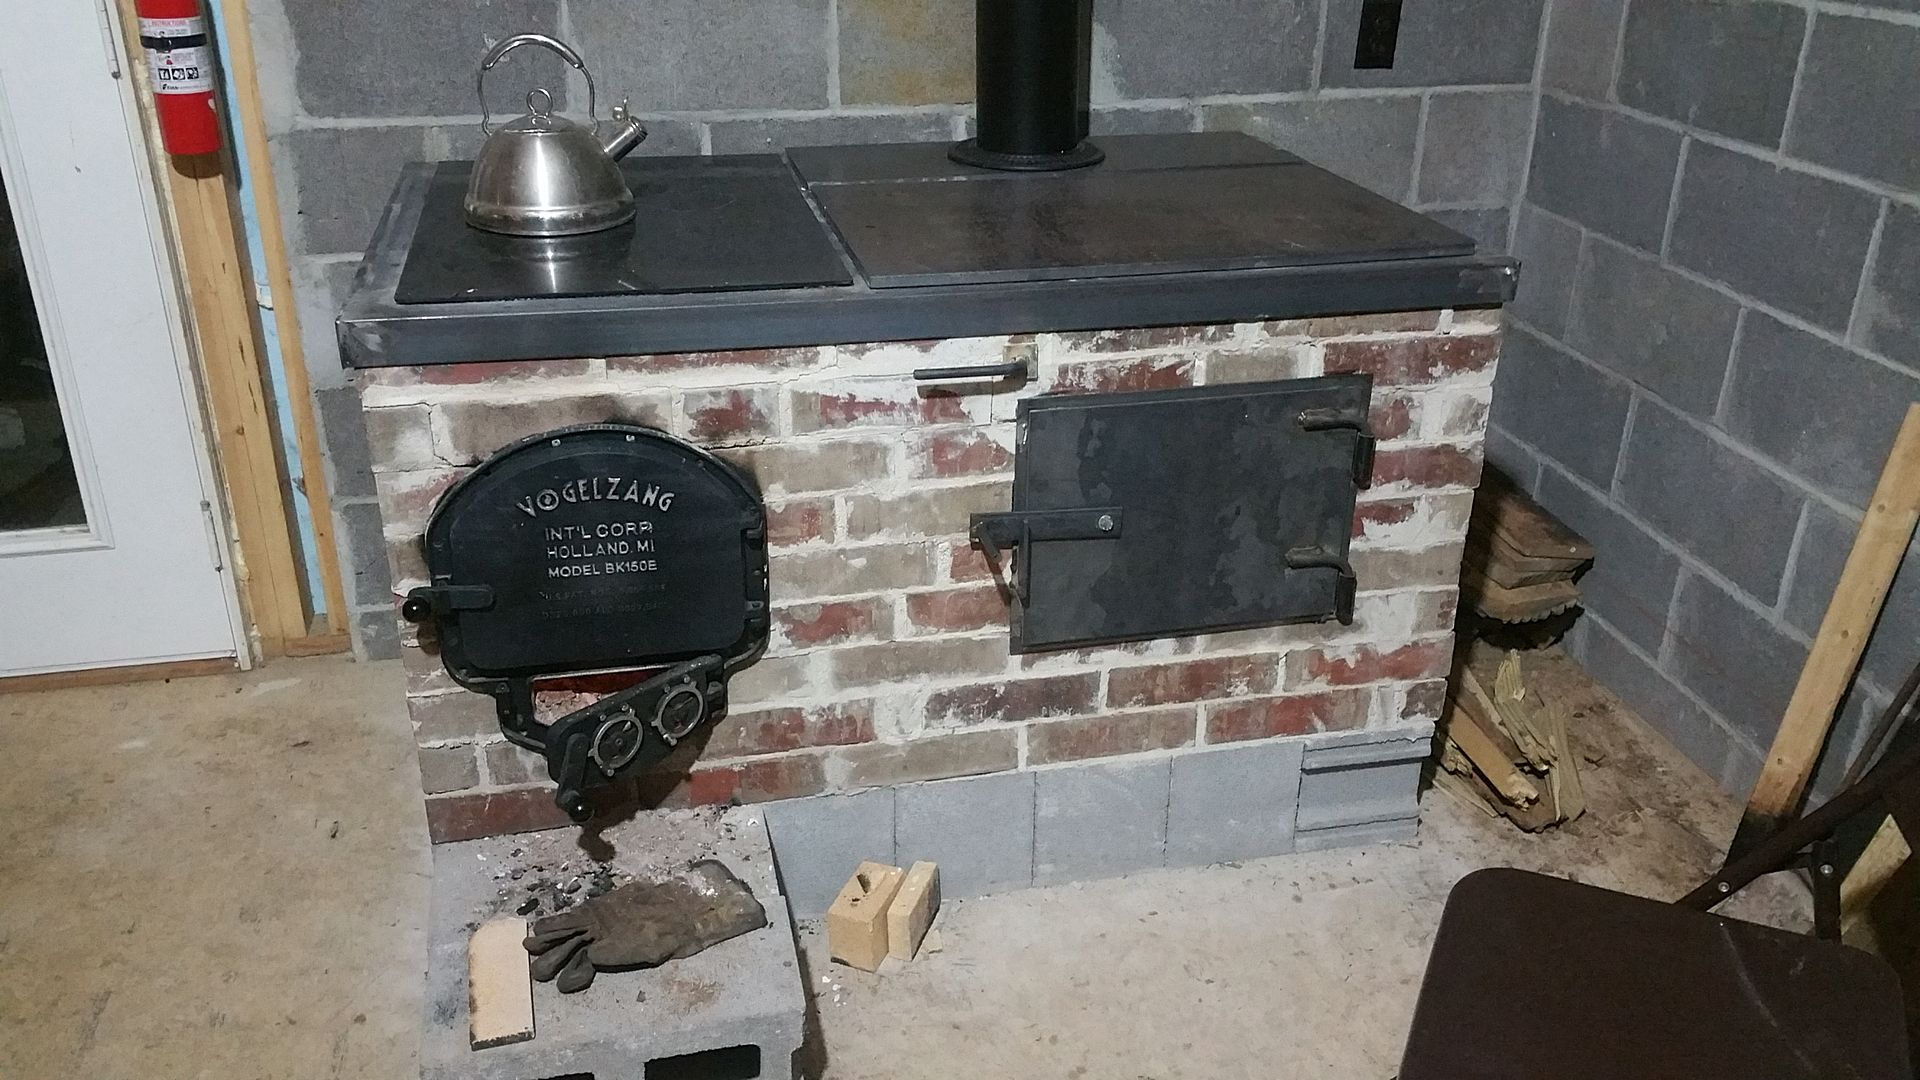
+1 for a pocket rocket. I've done several barrels that were used for silicone paint. It burnt it out inside and out. I just used the lid from 1 barrel and made 2 holes in it. One hole for an 8 inch stove pipe to extend into the barrel as the feed tube, and one for a 6 inch stove pipe as my chimney. I got by with a 24 inch feed tube, but a few inches longer would have been better. Use some dry wood, and then add a little used motor oil after it gets hot, and you can have a clean barrel in an hour (not in including cool down time). Save your lid setup, and you can use it to burn out another barrel anytime you need another one.
|
|
|
|
Post by coupe1942 on Dec 30, 2015 11:22:18 GMT -8
Hey, thanks for the great tips on paint removal, as I don't believe I would have thought of such to begin with in making a rocket stove burn unit as suggested.
The lids on the barrels I have seen locally seem to all be plastic lids and not made of metal at all. They were all open, other than the plastic lid and ring unit.
Anyone got any drawings or photos of how this unit should be set up?
I did see a video of someone wrapping their barrel with wet newspaper and trying to burn off the paint, but I believe they said it did not work that great for them at the time. I found this video if it links okay. Thought this may be simple to use, but the rocket stove burn idea may work even better.
|
|
|
|
Post by satamax on Dec 30, 2015 13:03:15 GMT -8
|
|
|
|
Post by coupe1942 on Dec 30, 2015 14:44:41 GMT -8
Thanks for the link and photos, as it explains a lot. Unfortunately, the barrels I have seen just don't have the metal tops to them, but instead they are plastic. That would likely be a real toxic mess when it melted. :-) Not sure where to find a lid of metal, as I have not checked into such at present. I was going to got a barrel today, but too cool outside for me to wan to go do it today. I have a small flat bed trailer and I need to find where I hid all my bungie cords so I can tie it down to haul it home.
|
|
|
|
Post by coupe1942 on Jan 2, 2016 11:52:02 GMT -8
+1 for a pocket rocket. I've done several barrels that were used for silicone paint. It burnt it out inside and out. I just used the lid from 1 barrel and made 2 holes in it. One hole for an 8 inch stove pipe to extend into the barrel as the feed tube, and one for a 6 inch stove pipe as my chimney. I got by with a 24 inch feed tube, but a few inches longer would have been better. Use some dry wood, and then add a little used motor oil after it gets hot, and you can have a clean barrel in an hour (not in including cool down time). Save your lid setup, and you can use it to burn out another barrel anytime you need another one. Do you happen to have a photo or scetchit drawing of this? I am not sure if I have it down correctly in my mind or not an dI am a visual person. I picked up a barrel today with a metal lid and hoop for removal of it. I may go back and pick up a second one, too since they are within my cheapo budget and I can tie them both down to my small trailer when we make our move to Oklahoma. I didn't want to destroy a lid by accidentally mucking it up, so a visual would be nice to see. I may have to wait to do all the mod work in setting up a j-tube and all, as I am trying to clean up all the extra junk I have and eliminate a lot before the movers come. Really, really, really hard to get rid of all the rusted bolts, bent screws and ill-fitting washers, as one never knows when something may work for repurposing. It's a man thing, huh? Guess that explains why I never got rid of my Pet Rock even after the thing died from lack of water. :-) |
|
|
|
Post by plcnut on Jan 2, 2016 19:55:12 GMT -8
|
|
|
|
Post by coupe1942 on Jan 3, 2016 7:20:27 GMT -8
Thanks for the direction. I went and looked thru about a 100 different 55 gallon pocket rocket videos, but found only two that really did a fair job of explaining what they had done with the lids as in the article you provided. For some odd reason, people seem consumed with flame and posting videos of the stove burning and little else. Any rate, I found what I needed in the two videos. I had thought you guys meant putting a j-tube directly into the lid and I was having a difficult time in visualizing that. Got is all figured out now though. Got to run by Lowes and see if they have rock wool batting to use to cover my barrel with while it burns.
One guy noted that the heat of the bottom of the pocket rocket setup actually caused the sidewalk he had set it up on to explode beneath the barrel. This was due to moisture contained in the cement sidewalk, but is shows me that I need to be careful where I decide to set this system up for use for burning barrels. I am going to be making a raised garden, to perhaps that will be an area in the back yard where a burn patch of grass won't matter.
Again, thanks for the info.
|
|
|
|
Post by coupe1942 on Jan 4, 2016 14:41:05 GMT -8
I'm sort of laughing at today's event when I went to pick up a second 55 gallon drum for a different project I have been thinking about doing once we make our move to Oklahoma. I used my small Northern Tool trailer that I pull behind my Smart Car to go pick it up with. I told the guy there that I needed to have a larger fuel capacity for my car and that I was modifying the barrel so I could have an auxiliary gas tank for when I moved to Oklahoma. He fell for it, too. :-)
This one has a bunch of greasy stuff inside so I am going to have to stop by a car wash to clean it out, but it will be entertaining and interesting to see the reaction of folk when I have both barrels strapped to that small trailer and am heading to Oklahoma from Wichita Falls, Tx.
Can't wait to do the burn out of the barrels and actually see how that goes. I saw a video on Youtube of someone using a watered down clay mud-type paste with newspapers to line the outside as they burned off the paint on the drum. Think I'll try out the rock wool method first.
|
|