|
|
Post by wiscojames on May 30, 2015 6:04:31 GMT -8
as long as you can build a solid, level base, it shouldn't be an issue. If one was a little low, I just sprinkled some sand, wither under the block or on top of the block, under the brick of the floor.
|
|
|
|
Post by martinpolley on Jun 1, 2015 1:39:24 GMT -8
wiscojames Hmm... This idea is starting to grow on me. Especially since I can easily go back to plan A if I don't like it. (At least, I can if I try it before I build the dome.)
|
|
gjh42
Junior Member
 
Posts: 61 
|
Post by gjh42 on Jun 2, 2015 19:01:49 GMT -8
Last October, I posted some pictures of a rocket-fired cob oven in progress. Recently we have been working on finishing it, and I have a few more pictures of the current state. On the 3" of thermal cob we had in the dome last fall, we have added about 3-4" of insulating cob with perlite and straw, then sculpted with structural cob to reach nearly the final shape. It still needs a fine-tuning layer of cob or lime plaster and the plaster surface finish. It will have a pole structure with a shed roof over it to keep rain off. Inserting images does not appear to be working... will try again... My fb - it should get to the pics right now but not later... I will put them somewhere else for future visibility. (Later) Thanks, Max! I still couldn't get the posted photos into that album, but I don't really care how much server space fb uses  so I re-uploaded the pics there. |
|
|
|
Post by satamax on Jun 3, 2015 0:00:32 GMT -8
|
|
|
|
Post by wiscojames on Jun 3, 2015 4:44:50 GMT -8
.
|
|
|
|
Post by martinpolley on Jun 7, 2015 5:01:03 GMT -8
gjh42 Nice one, Glenn. I love the dragon motif.
|
|
|
|
Post by harthadven on Aug 16, 2016 15:08:34 GMT -8
Aloha  first of all i want to say thank you so the tremendous amount of knowledge that you are contuniously sharing with the world and the service you arent obly doing to the people but our mother earth! mahalo!! I would like to ask if you built the heat riser with firebricks? We are living on an island (clay-rich soil though) and want to use as many local resources as possible. Have you ever tried making fire bricks yourself? Much love and thanks, Harthadven |
|
gjh42
Junior Member
 
Posts: 61 
|
Post by gjh42 on Aug 16, 2016 15:40:09 GMT -8
Not sure if you were referring to my dragon oven or something else, but to give my answer to your question, I used a few firebricks for the front lower faces of the firebox where abrasion is a concern, but nowhere else in the flame path. All the rest is cob, and a few old common bricks supporting the floor because I had them and it was convenient to use them. I did use firebricks for the oven floor to get a hard, smooth, flat surface. You could probably use common bricks for that if you had good clean flat ones.
|
|
gjh42
Junior Member
 
Posts: 61 
|
Post by gjh42 on Aug 16, 2016 18:22:05 GMT -8
I haven't made bricks as such, but I have built a pottery kiln entirely of cob, and all the inner layers of that have been fired like brick by the heat.
|
|
|
|
Post by mehmet on Mar 1, 2017 10:02:28 GMT -8
Wow This is something I have been looking for... for ages.
I am really interested to find out if you have plans showing a cut through section to show how the internal mechanics work to build the inside of a multi pot / oven in the rocket fuel cob style.
Do you have plans/blueprints or a DVD a book or a more detailed web page that I can go to? if so how can I get my hands on them?
I have been weeks trying to find something similar.
Thanks
Mehmet |
|
|
|
Post by organicmotion on Sept 7, 2022 22:44:00 GMT -8
Can you upload the images again? I rememeber this being very good and inspirational <3 It's been a full summer. Lots of projects going on around here! Among them, my natural building apprentices spent a LOT of time experimenting with rocket stoves for cooking. Over the course of the last couple of months, we've built an outdoor cooking complex. First, we fixed up a small but traditional wood fired, beehive oven. Then, after using that for a time, we built a double ended stove (2 rocket stoves) for boiling/frying. 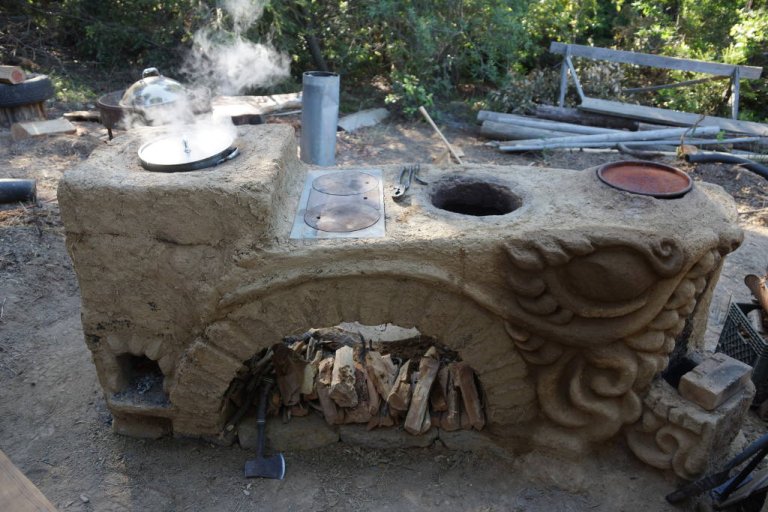 This is early on in it's development. 2 rocket stoves, the one on the left began as an Aprovecho-style, horizontal feed; the one on the right, a J-tube rocket. Later, the horizontal feed was modified into a J-tube as well. 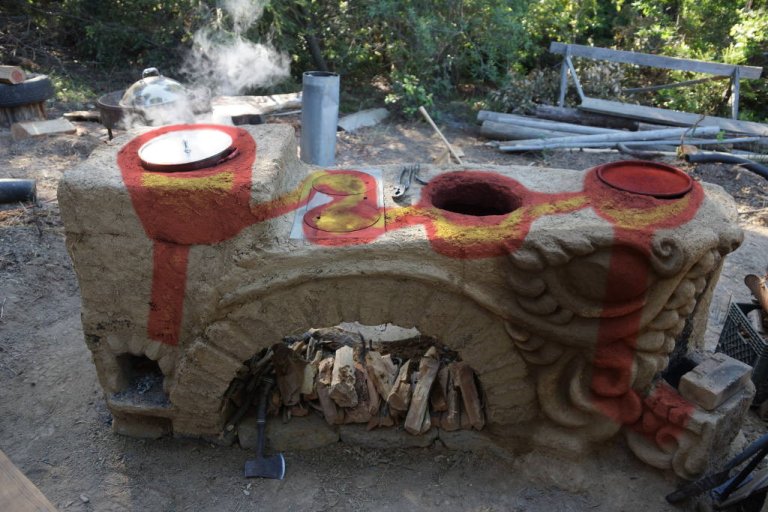 Here is roughly how the internal channels go.. Notice that there's no chimney here, you can cook/heat food on ANY port up on top. For exhaust to flow out, one of the ports has to remain open; we often placed a chimney over one of the cook-top plates and cooked on everything else (simultaneously). 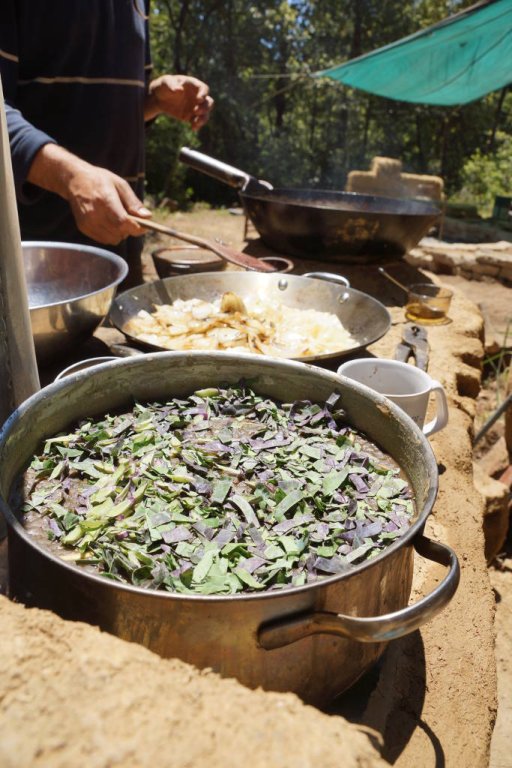 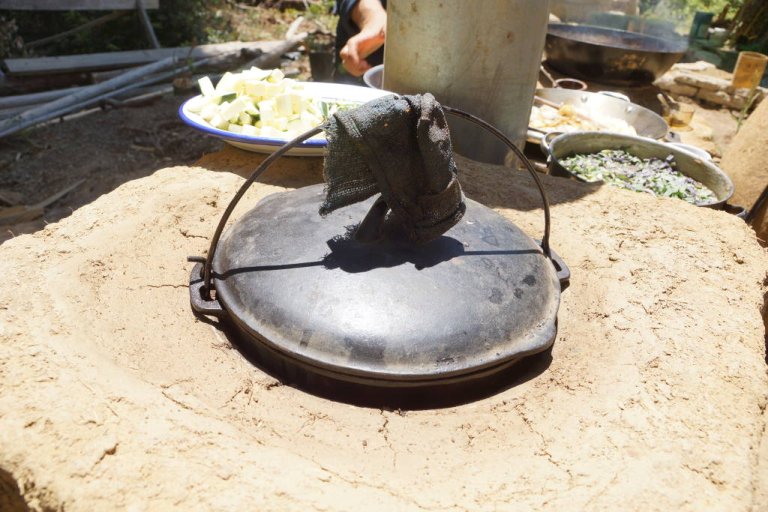 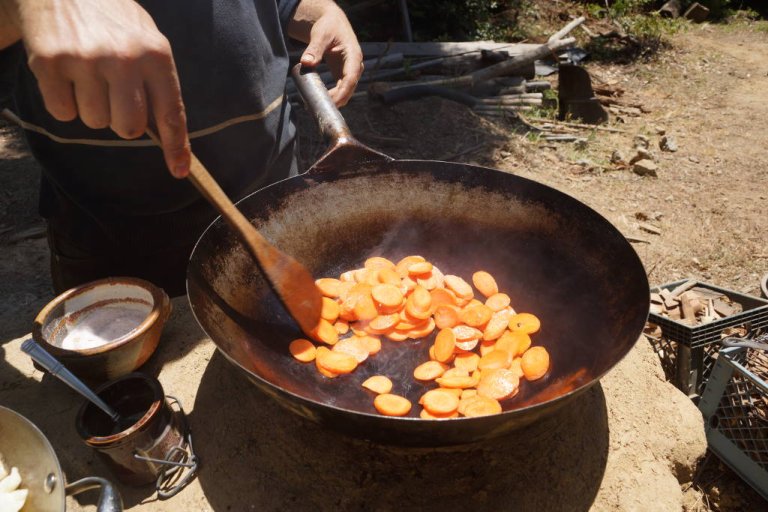 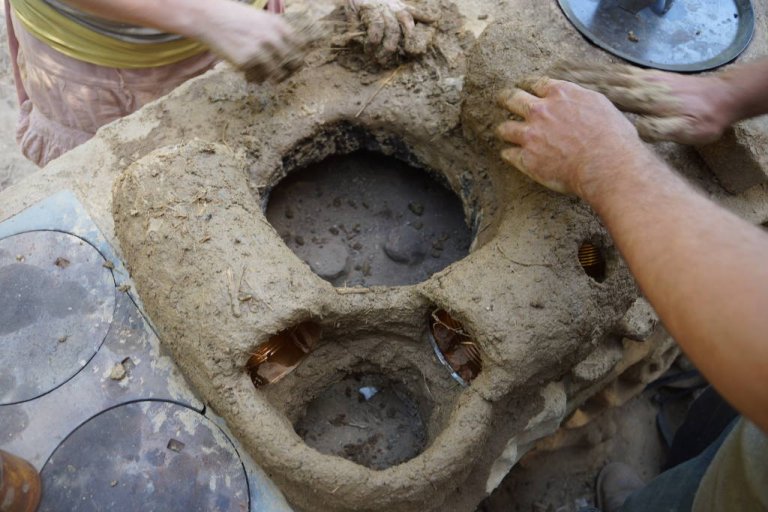 This middle(ish) cook-port got remade into a deep pot heater with a combination chimney, chopped into the side (and a tea-cup warmer added). 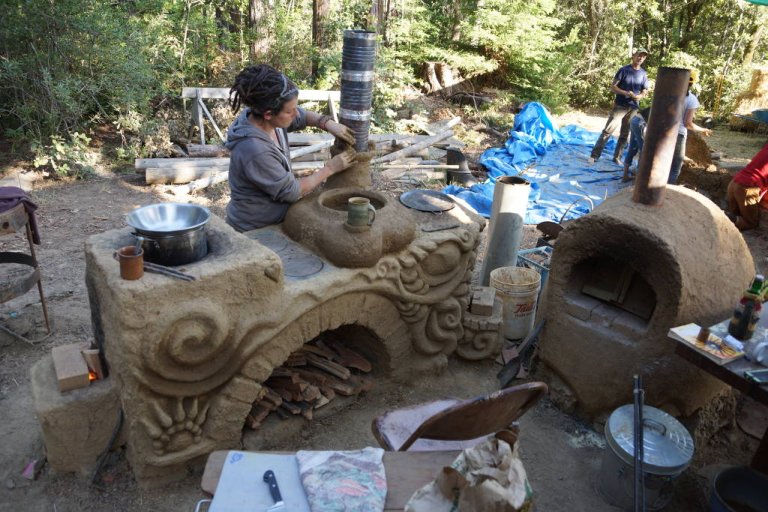 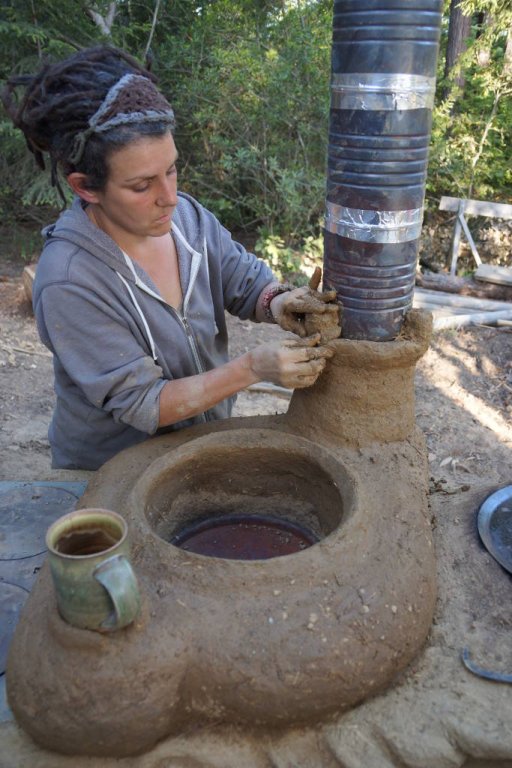 Yep.. We ARE using coffee cans as a chimney. Works just fine, so far! Oh, and yes.. Both stoves vent through the one chimney. 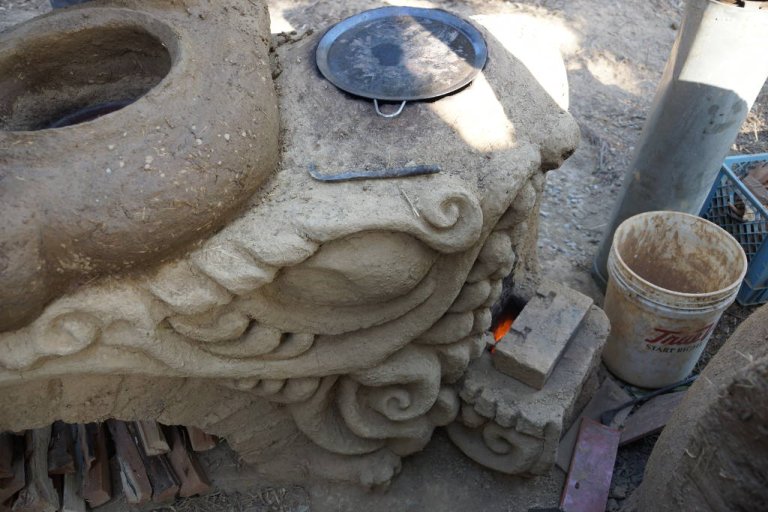 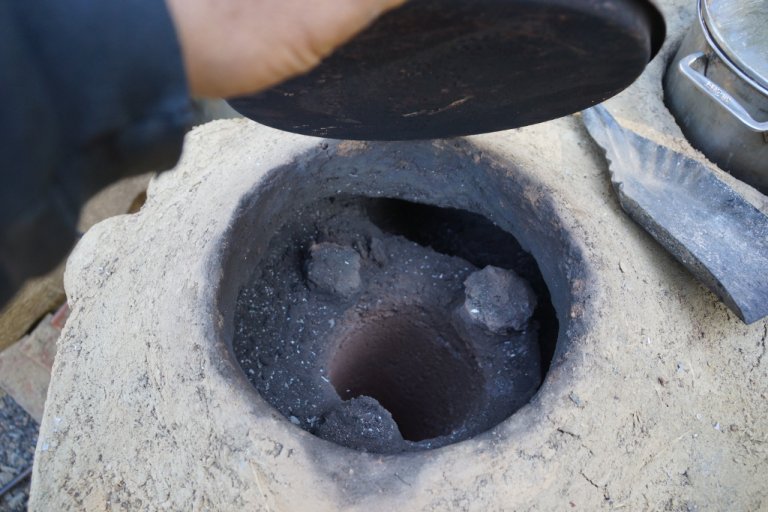 notice how the pots sit deep into each "pot well", this maximises heat getting into the pots. Other cook surfaces can be used as well. 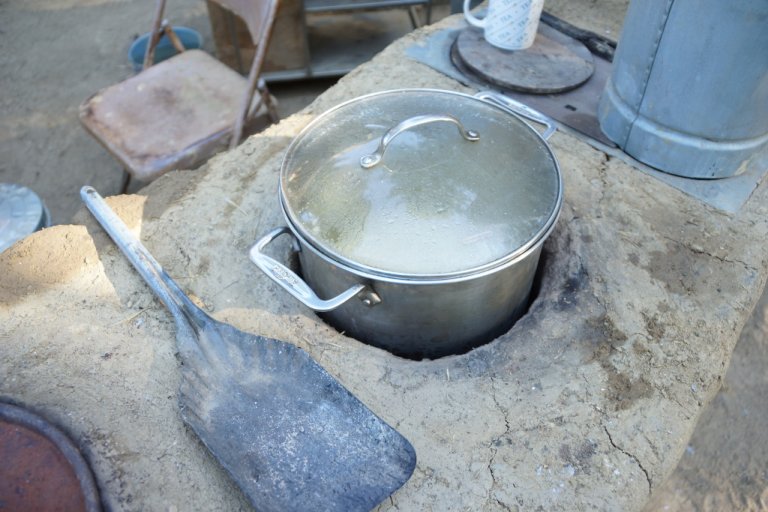 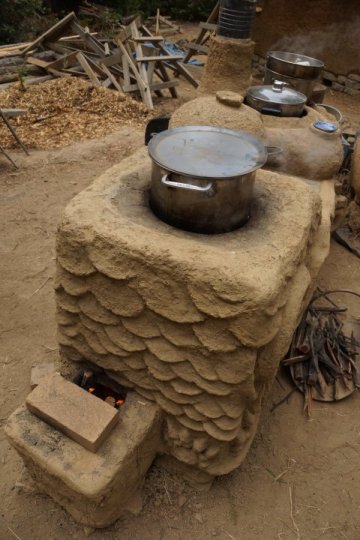 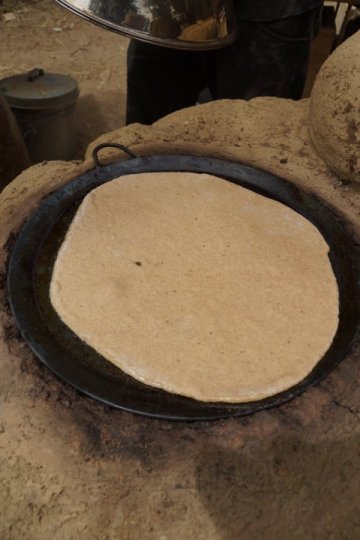 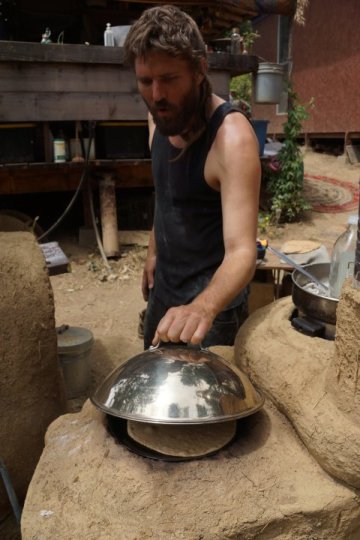 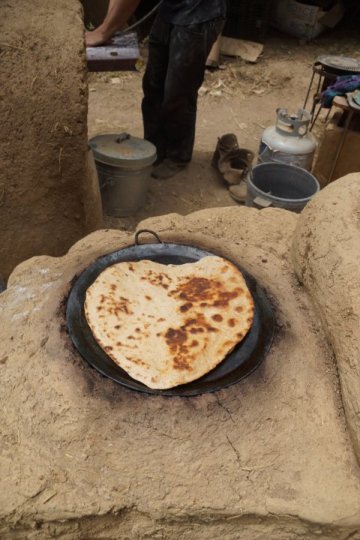 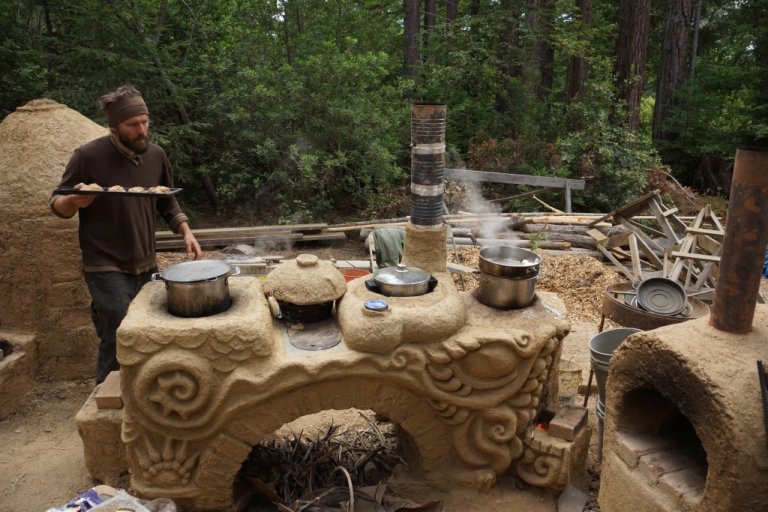 After much experimentation, a few changes and some decorations later, this stove is functional and beautiful.  |
|
|
|
Post by peterberg on Sept 8, 2022 6:00:55 GMT -8
Can you upload the images again? I rememeber this being very good and inspirational. The pictures in this post are all links, no uploads. But because it's on a http: site instead of https: they won't show up here anymore since it's an unprotected site. All pictures are still there though, just go to www.sundogbuilders.net/gallery.html and click "Wood fired hot water project". |
|
|
|
Post by hkjeffb on Feb 27, 2023 11:57:32 GMT -8
Looking for the pictures indicated below ... looks like link is broken. While I love the artwork, I'm looking for internal design as I'd like to put one of these in a covered open air kitchen and want to make sure the flu design works. It's been a full summer. Lots of projects going on around here! Among them, my natural building apprentices spent a LOT of time experimenting with rocket stoves for cooking. Over the course of the last couple of months, we've built an outdoor cooking complex. First, we fixed up a small but traditional wood fired, beehive oven. Then, after using that for a time, we built a double ended stove (2 rocket stoves) for boiling/frying.  This is early on in it's development. 2 rocket stoves, the one on the left began as an Aprovecho-style, horizontal feed; the one on the right, a J-tube rocket. Later, the horizontal feed was modified into a J-tube as well.  Here is roughly how the internal channels go.. Notice that there's no chimney here, you can cook/heat food on ANY port up on top. For exhaust to flow out, one of the ports has to remain open; we often placed a chimney over one of the cook-top plates and cooked on everything else (simultaneously).     This middle(ish) cook-port got remade into a deep pot heater with a combination chimney, chopped into the side (and a tea-cup warmer added).   Yep.. We ARE using coffee cans as a chimney. Works just fine, so far! Oh, and yes.. Both stoves vent through the one chimney.   notice how the pots sit deep into each "pot well", this maximises heat getting into the pots. Other cook surfaces can be used as well.  After much experimentation, a few changes and some decorations later, this stove is functional and beautiful.  |
|