|
|
Post by matthewwalker on Jan 24, 2012 19:45:21 GMT -8
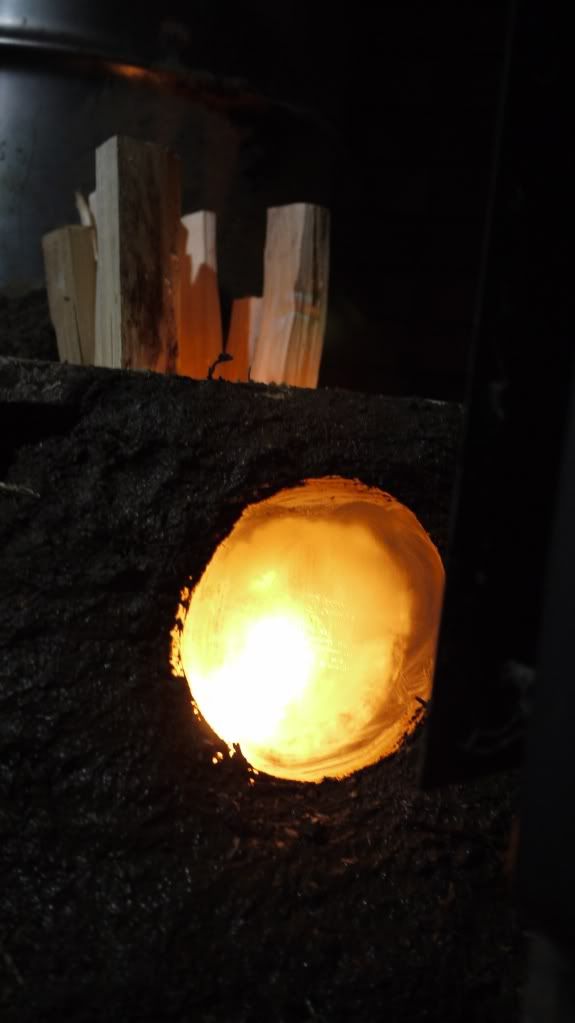
Well, today I started in earnest on the stove for my house. Or, maybe I did, we'll see how it turns out. After reading this board I was inspired to try casting the combustion unit, mostly thanks to you Donkey! So, I built a mold and cast it today, not without problems. I think after seeing Donkey's little cardboard mold thread, I had it in my head that the perlite and clay mix was going to be so light it wouldn't put much stress on the mold, so I built it out of 3/8" masonite I had. Of course, it blew out once I got it full. DOH! I salvaged the mess, reinforced it, refilled it, and it's in the shop drying out now. Hopefully my mix was okay. I think it may have been too wet, but I really couldn't picture it much drier and still sticking together once dried. Anyway, I've got some pictures and a thread about it going on over here. www.permsteading.com/viewtopic.php?f=6&t=79I'd love any feedback, as I'm learning as I go. While you are there check out my portable RMH I built a couple months ago. |
|
|
|
Post by matthewwalker on Feb 1, 2012 16:59:27 GMT -8
Well, I've had some burns in the little clay unit, and so far it seems to be drying in one piece. Right now I'm burning off the paint on the barrel outside, and I have a question.
Do you guys put anything on the barrel once the paint is gone to keep it from oxidizing?
|
|
|
|
Post by canyon on Feb 2, 2012 12:43:23 GMT -8
I haven't and only notice oxidizing on the outside if it goes unused and water gets on it or from spilling by cooking.  |
|
|
|
Post by grizbach on Feb 2, 2012 16:12:06 GMT -8
On bare metal I treat it like cast iron and "season" it.
Olive oil is my preference.
|
|
|
|
Post by matthewwalker on Feb 2, 2012 22:35:30 GMT -8
Thanks for the reply. Olive oil is a great idea, and won't be too smelly if it burns off in the first few firings. I appreciate the help!
|
|
|
|
Post by matthewwalker on Feb 7, 2012 19:20:22 GMT -8
|
|
|
|
Post by canyon on Feb 8, 2012 15:02:45 GMT -8
Nice link to your pictures etc! I am glad that you posted that and it looks great except I have one comment that comes from my enrollment in the school of hard knocks. The picture of your bench end where the flue gasses do a u bend through a tee (cleanout) and then a 90 should really be two tees so each run has cleanout access. Much easier to do now before it is all hard mass! Keep up the good work and sharing! |
|
|
|
Post by matthewwalker on Feb 8, 2012 15:51:52 GMT -8
Thanks for the input Canyon, and thanks for checking it out! I'm really excited about it, and you guys have been THE place for me to come and learn. I have Ianto's book, and combining that with all of the experiments and knowledge you guys share here has been a real asset, so thanks to everyone here. Donkey, big ups to you for inspiring my mold and for providing this place. Thanks very much.
I still have some fiddling to do with the ends of the runs and the caps, so I'll think hard about your recommendation. I can't get Tees locally unfortunately. I do have a 10 foot really flexible hose on a good shop vac. Is there potential for there to be something to clean that the shop vac can't get?
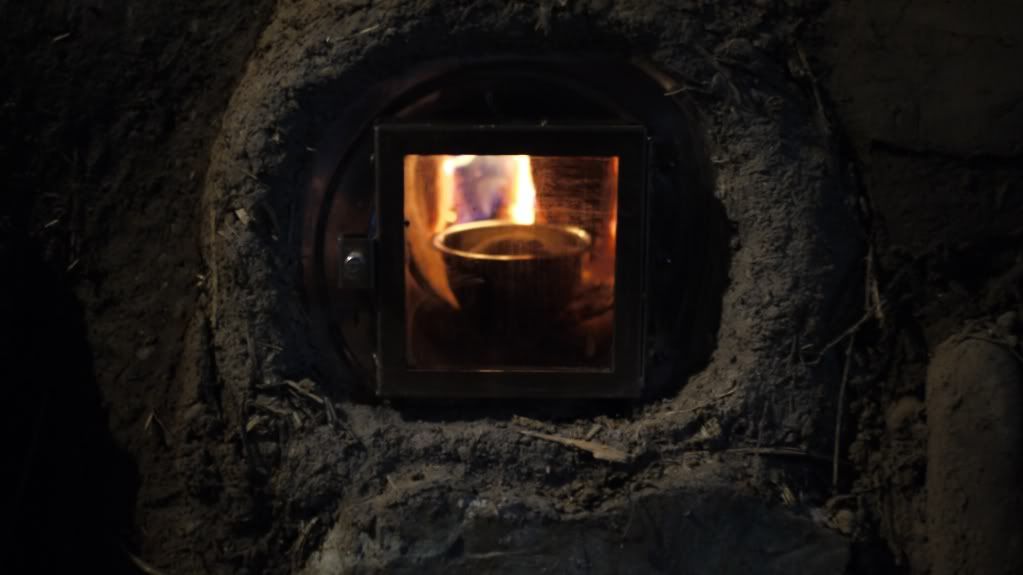
Oh, and I found a little stove window/door combo on a diesel heater in my shop. It's mounted to the metal plate and all cobbed in and drying now. More pictures to come. Sitting here looking into the firebox from the front is very cool.
|
|
morticcio
Full Member
 "The problem with internet quotes is that you can't always depend on their accuracy" - Aristotle
Posts: 371
|
Post by morticcio on Feb 8, 2012 16:35:53 GMT -8
Very interesting thread Matt - and I'll try your tip with the insulation under the fuel feed.
|
|
|
|
Post by canyon on Feb 8, 2012 17:18:56 GMT -8
I still have some fiddling to do with the ends of the runs and the caps, so I'll think hard about your recommendation. I can't get Tees locally unfortunately. I do have a 10 foot really flexible hose on a good shop vac. Is there potential for there to be something to clean that the shop vac can't get? Oh, and I found a little stove window/door combo on a diesel heater in my shop. It's mounted to the metal plate and all cobbed in and drying now. More pictures to come. Sitting here looking into the firebox from the front is very cool. Sweet! That is just what I have been working towards, a door with a window in it to see and also be able to clean out easier. On the clean out subject, eventually you will need to ream the pipe not just vacuum it and having direct access makes it, plus you can actually see down the line. I'm not saying that you can't make it work the way you have it, I'm just saying from my experience I would for sure put a tee in instead as I have had to go back and break up the bench later to do it because it is soooooo much easier! |
|
|
|
Post by matthewwalker on Feb 8, 2012 17:34:40 GMT -8
Breaking up the bench is something I'd like to avoid! Thanks again Canyon.
Morticcio, I'm glad you caught that. It's something I wanted to discuss with you guys here. I couldn't believe the difference. Not having a hot spot trying to push gases the wrong way in the feed tube really let the stove take off. It was burning well, but would burn back up the fuel a little too easily. Once the bottom of the feed was nothing but insulation, you could see it sucking soo much stronger.
I do think that a little hot mass under the riser also added a bit. I just had it backwards at first, hot tile under the feed and insulation under the riser. Switch 'em around and WOW!
From that experience, I would say that the standard brick combustion unit could be greatly improved with just a bit of insulation in the fuel feed.
|
|
|
|
Post by matthewwalker on Feb 8, 2012 17:53:21 GMT -8
Here's today's window mod.... 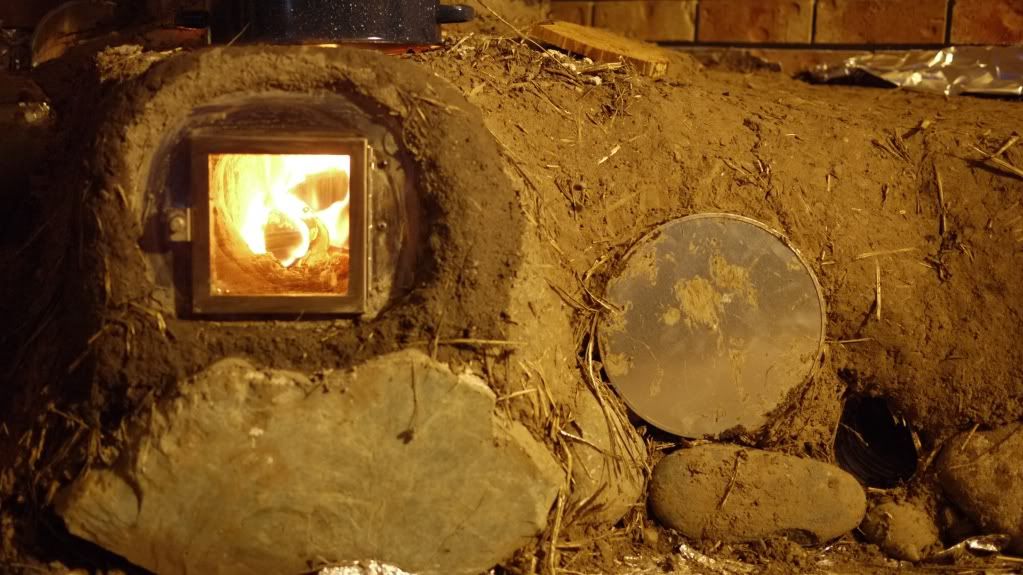 |
|
morticcio
Full Member
"The problem with internet quotes is that you can't always depend on their accuracy" - Aristotle
Posts: 371
|
Post by morticcio on Feb 9, 2012 0:43:07 GMT -8
Out of interest what is your wood consumption and heat comfort levels using the rocket stove compared to your woodburner?
|
|
|
|
Post by matthewwalker on Feb 9, 2012 9:20:00 GMT -8
I've only installed about half the mass it will have, and what is in is very wet, so I assume I'm losing a lot of calories to evaporation in the mass. I'm also running the stove hot and basically constantly while I'm here to dry it out.
That said, my biggest concern was that it wouldn't put out enough instant heat off the barrel to match the big box stove's ability to really get the room hot. Well, my concern was unfounded. This thing can cook me right out of my drafty old house with single pane aluminum frame windows and almost no insulation! The first night I installed it, it was 28*F outside at midnight, inside was 74*F 4 hours after installing the stove with no mass. Last night, I had to let the stove go out, something I would never do with the box stove, as it was almost 80*F in here!
So, heat comfort level, it is cabable of MORE radiant heat, not even counting the mass. I'm currently burning around 20 lbs of wood in 24 hours, the box stove was in the neigborhood of 100lbs in the same period, and the house wasn't as warm.
I'm very pleased. I'll be honest, I was doubtful, but felt I had to try it as I have been going through 7-8 cords of wood a year, and that is a large workload to gather. I desperately wanted to change that. So far, I'm thinking it's a success. It is a bit colder in the mornings. Hopefully when I get more mass that will change. It's not too bad though, today, after the stove had been out for 11 hours, it was 64*F in here.
|
|
|
|
Post by matthewwalker on Feb 14, 2012 19:05:28 GMT -8
|
|