I am building presently a new firebox door for a 200mm batch sidewinder.


After several trials, I got better results welding the inner frame first: starting with the glass holder frame, then fitting the leaf frame on top, then the door frame and finally the trim.
A) Glass holder frame:
Cutting the 20x20 angle steel to 20x10:

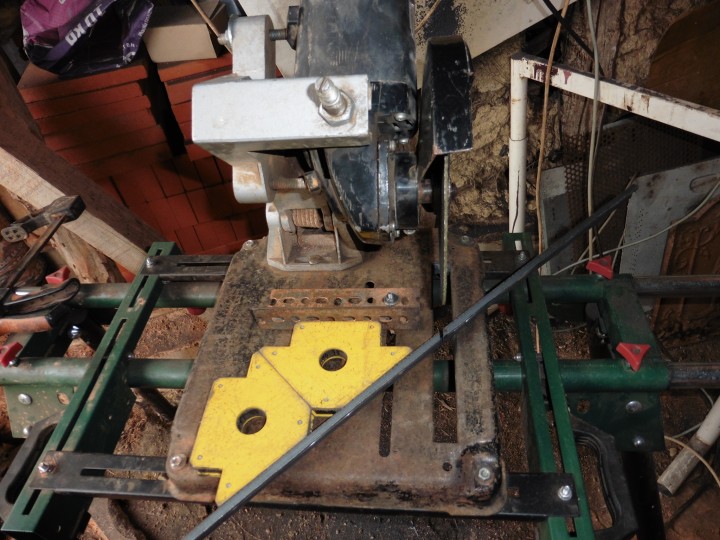
Cutting each frame side at 45°:

Tack welding:
This setup helps getting 4 square angles and a good flatness for tack welding (three points on each corner):

Welding outside faces on each corner:

Grinding welds at each corner with a grinding wheel:
The goal is to flatten the surface in contact with the glass and keep the right clearance with the leaf frame on each side.

B) Leaf frame
Tack welding:
The four leaf frame sides lay on the glass holder frame for better flatness and clearance control.

Checking clearance:

Welding each corner:
The front side will be visible, it requires thicker welds without bubbles or undercuts.

Grinding each corner:
Grinding visible surfaces:

Finishing with flap disc (40 then 80) and brush:


Oiling (linseed) and wiping (any excess will liquefy during the first fire and leave ugly drops):


C) Door frame
Cutting tubes:

Checking dimensions, angles as well as clearance with the leaf frame:

Cutting air inlet holes:


Grinding inner visible surfaces:
Cutting the inlets with the grinder leaves extra grooves at each corner. I filled them with welds. I grind the frame inner surfaces at this step since the grinder will have no full access after assembly.

Damper plates:

I added a stop in the middle of the top inlet to center both plates when the inlet is fully closed. A slot on the right plate facing the frame stop improves tightness when closed.

Welding rear side:

Welding inside top corners:
I avoid to weld inside the frame for grinder access reasons. Here it is required for the tightness of the primary air circuit.

Welding front side:
Visible side, requires thicker welds.

Welding outside top corners:

Welding bottom plates:

Grinding welds:

Grinding front side:

Finishing front side:


D) Trim
Tack welding trim sides:

Welding, grinding and finishing:
It is tricky to get the right angles on this part as it requires 3D fitting. I first welded each side. Checked planarity, then put them in place on the door frame and tack welded them with the top plate.


Now, I am looking for ideas on hinge and latch designs.
Next, I have to order glass and test the special glass and door gaskets I bought lately on the web.