
Post by chazvan on Feb 5, 2015 18:19:21 GMT -8
This thread is not intended to promote an new idea. Rather it is intended to prevent others wasting time going down this path and maybe provide a bit more understanding of how rocket stoves work. Please note that this is a rocket stove, not a rocket mass heater at this stage.
I had a bunch of half oval cinder blocks laying around. It looked to me like an easy way to quickly make a heat riser would be to put some of these face to face and stack them up. I had previously done this sort of thing with smaller (5 by 5 ~24 square inch) squarish hole blocks with some degree of success. These 11 by 4 oval holes give me about 42 square inches. My goal is to get to a size that will put out about 300,000 btu per hour to replace the gasifier burner under my water heater.
My first attempts with this heat riser configuration did not work. No rocket action and smoke. I made several changes and it worked but as I made these changes all at once, I don't know what made the difference. Since I am at 6500 feet, I took Karl's suggestion so the heat riser is now about 47".
This does not go that far but I like to take things in steps.
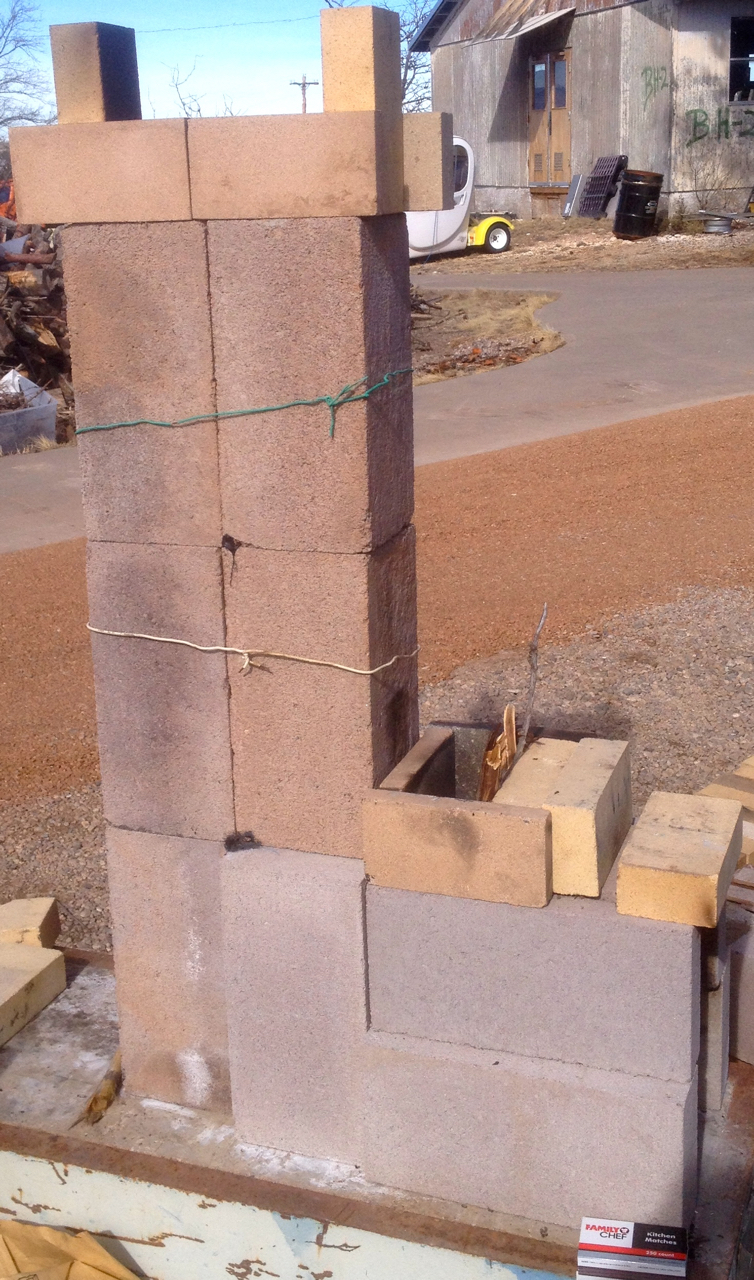
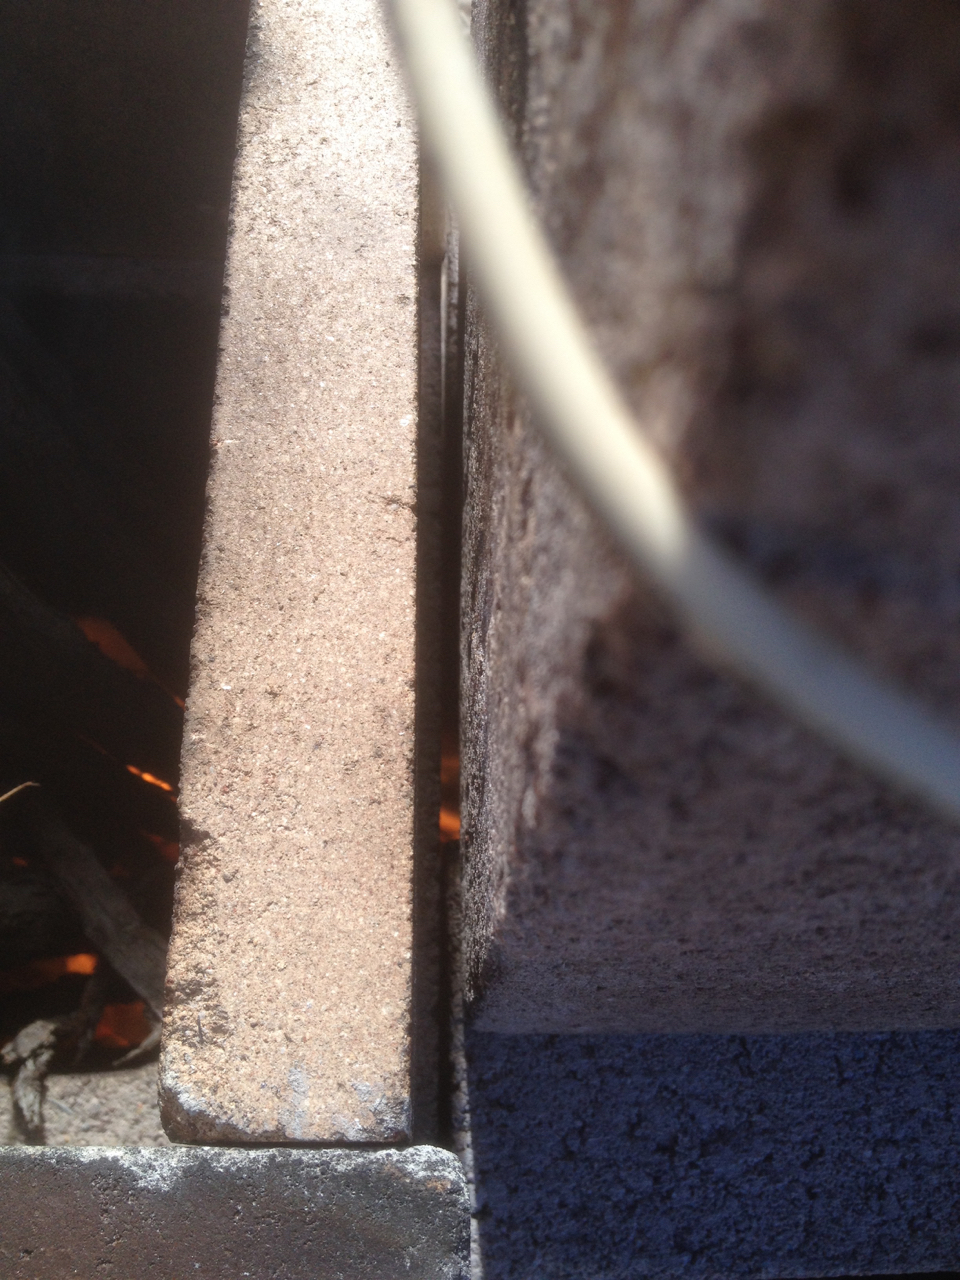
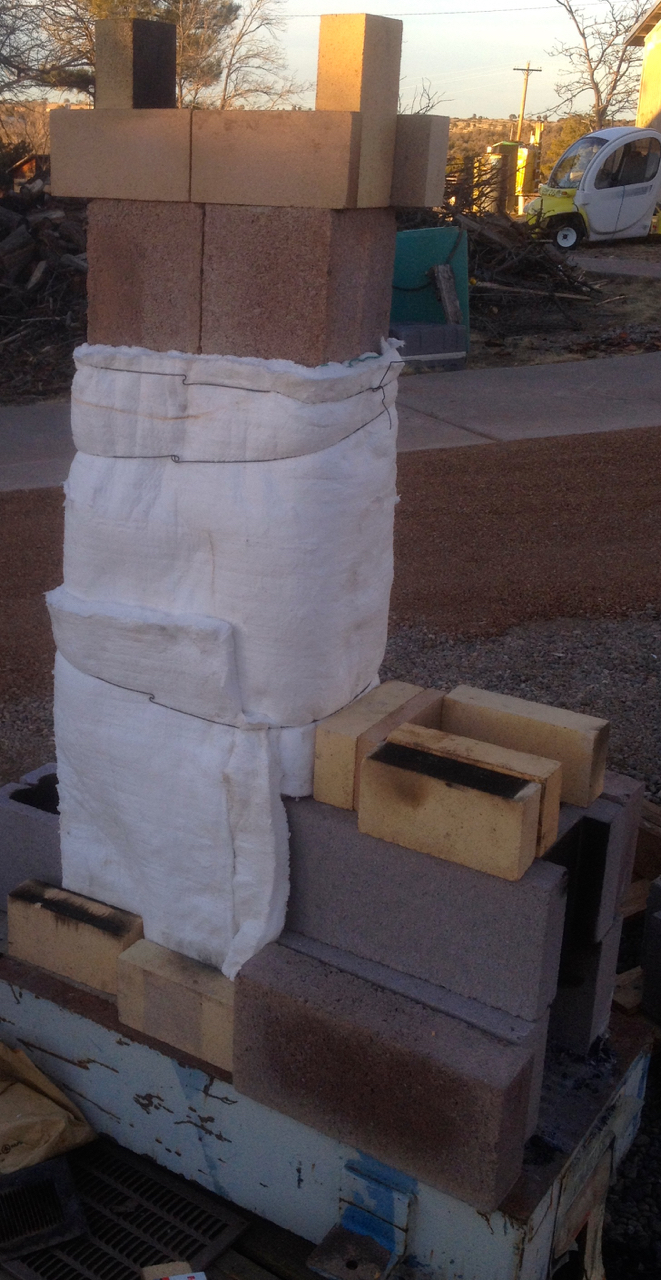
The image below shows the initial setup running smoke free. You can see the heat shimmer from the top against the Ethernet cable strung in the background. The two sets of vertical blocks are the half ovals facing each other.
This is strictly a test/experimental setup. All loose not cemented blocks so I can make changes quickly/easily and not waste materials. The setup is on a heavy thick block of concrete encased in a steel frame so I can pick everything up with a forklift and move it to where is most convenient at the moment. I don't have my wet masonry saw at this location at present so everything has to be done with blocks the size they come. My present blocks are 8 by 8 by 16 half oval cinder blocks. 4 by 8 by 16 half oval cinder blocks. 8 by 12 by 16 (nominal) cinder block wall end column blocks with 8 by 11 hole. Full and half size standard fire bricks.
There are 5 half oval cinder blocks on end. The bottom one faces a pair of 4 by 8 solid cinder block on end separated by 4 to 5 inches. These form a throat that is about 5 inches wide by 16 inches tall. However, the front of the throat is limited by a column end block that is 8 inches off the floor so the effective throat cross section is about 40 square inches. The burn tunnel is about 1.5 inches long, sort of. The feed tube is about 8 by 8 by 16 tall--a solid 4 by 8 by 16 block closes off the bottom of the channel and reduces the inside size of the column end block. The fire brick on top of the feed tube were for closing down the feed tube opening.
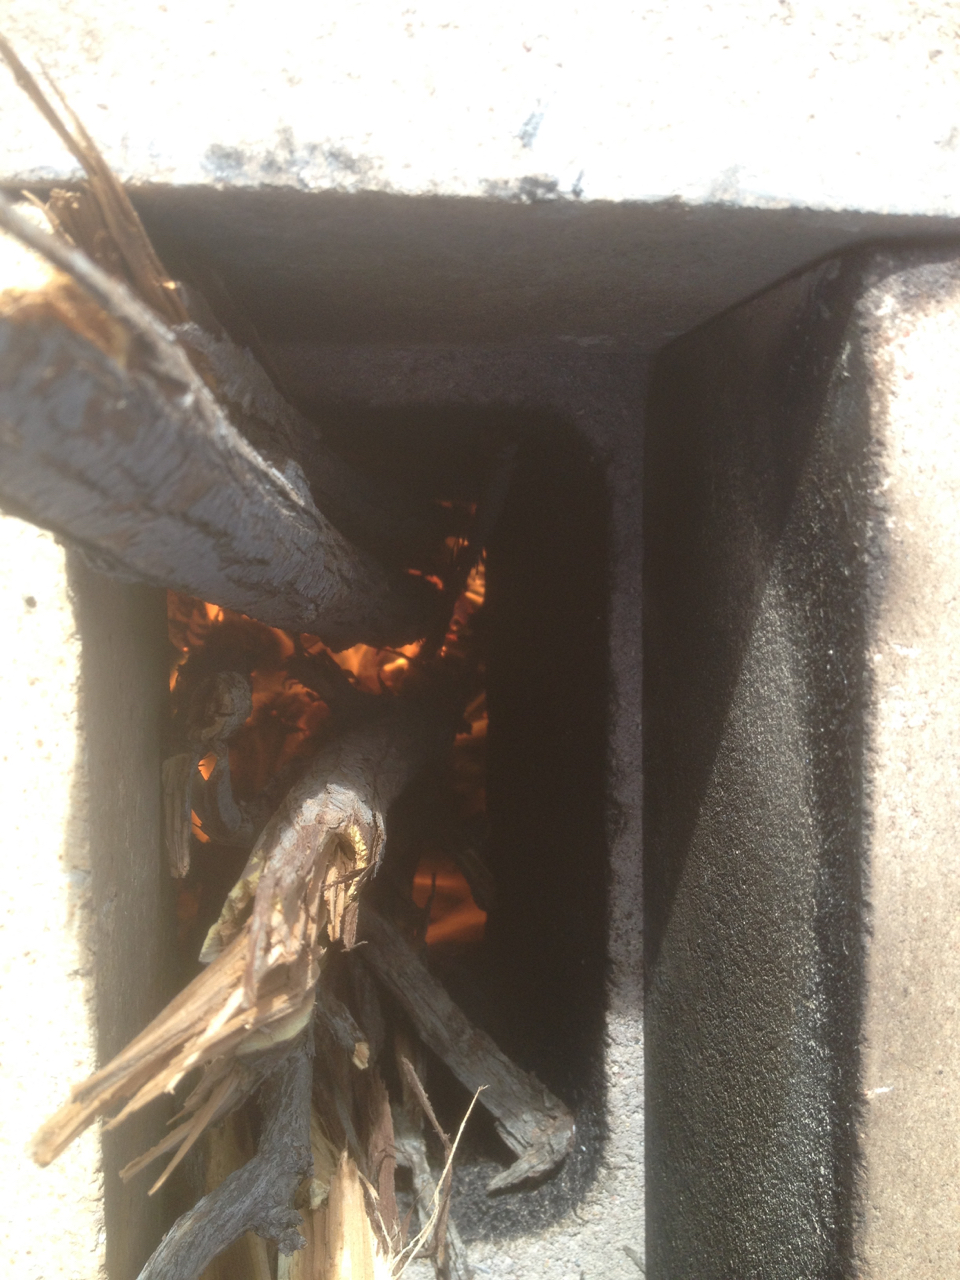
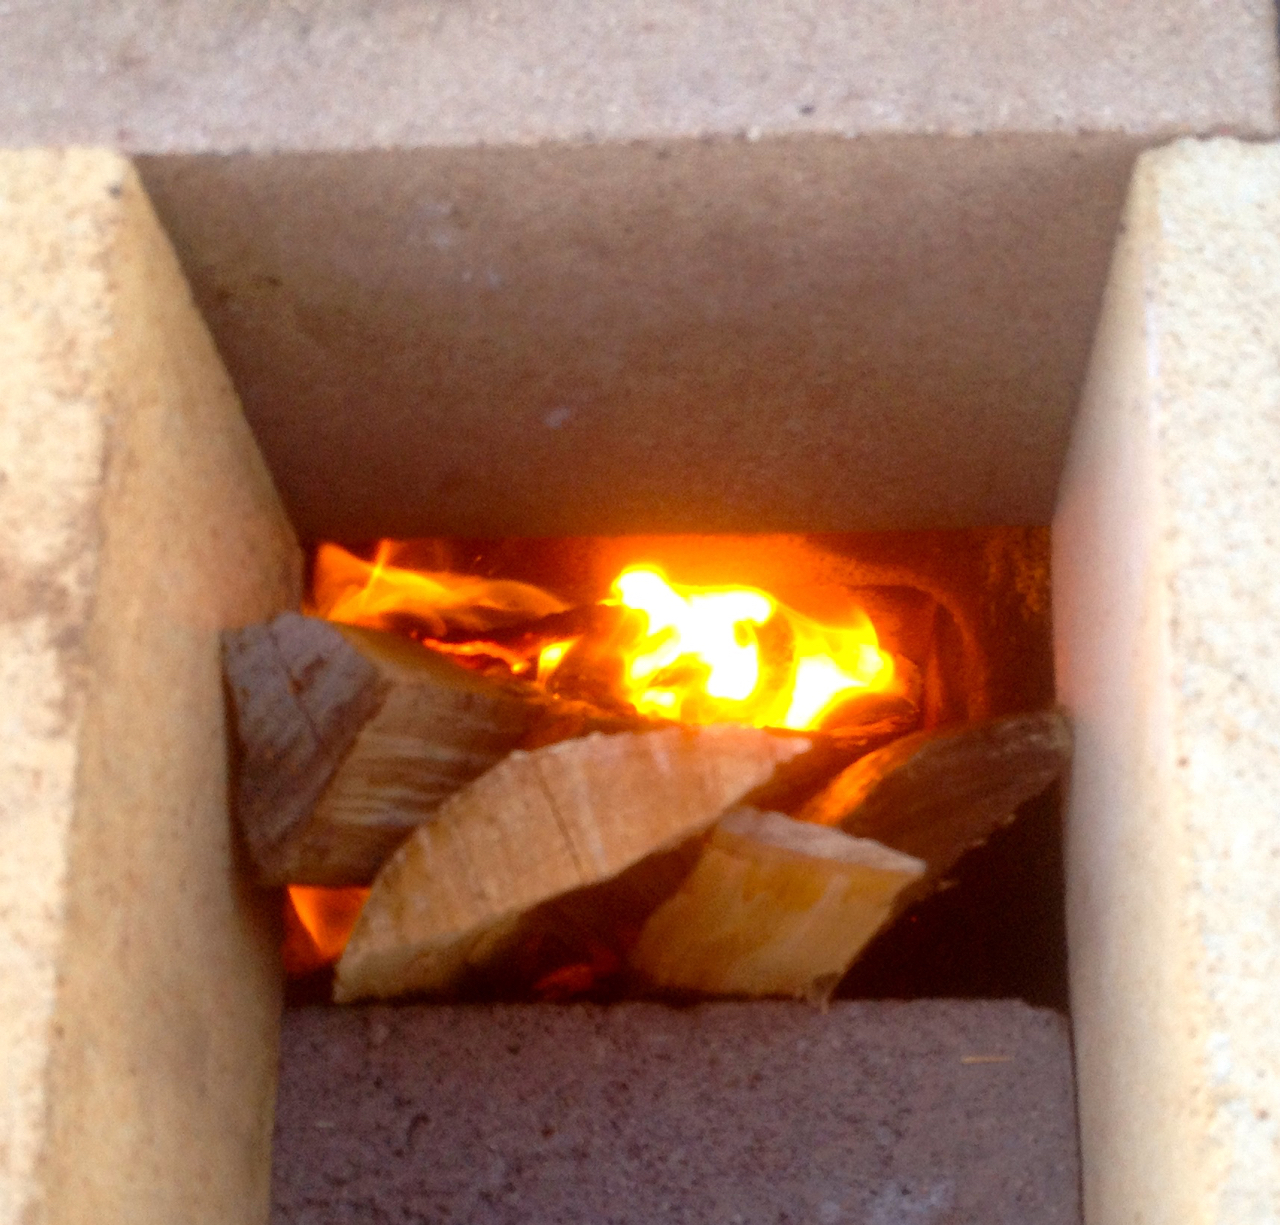
The feed tube was filled with smallish pine cones and needles. several crumpled paper towels were dropped down the heat rise with a burning one dropped on top of them. A stick bushed the burning towels back toward the pine cones in the bottom of the feed tube and they eventually got going well enough for rocket action and clean burn. broken branches were added as the pine cones burned down until the state shown below was reached.
The image below is looking down into the feed tube about the same time as the image above was taken.
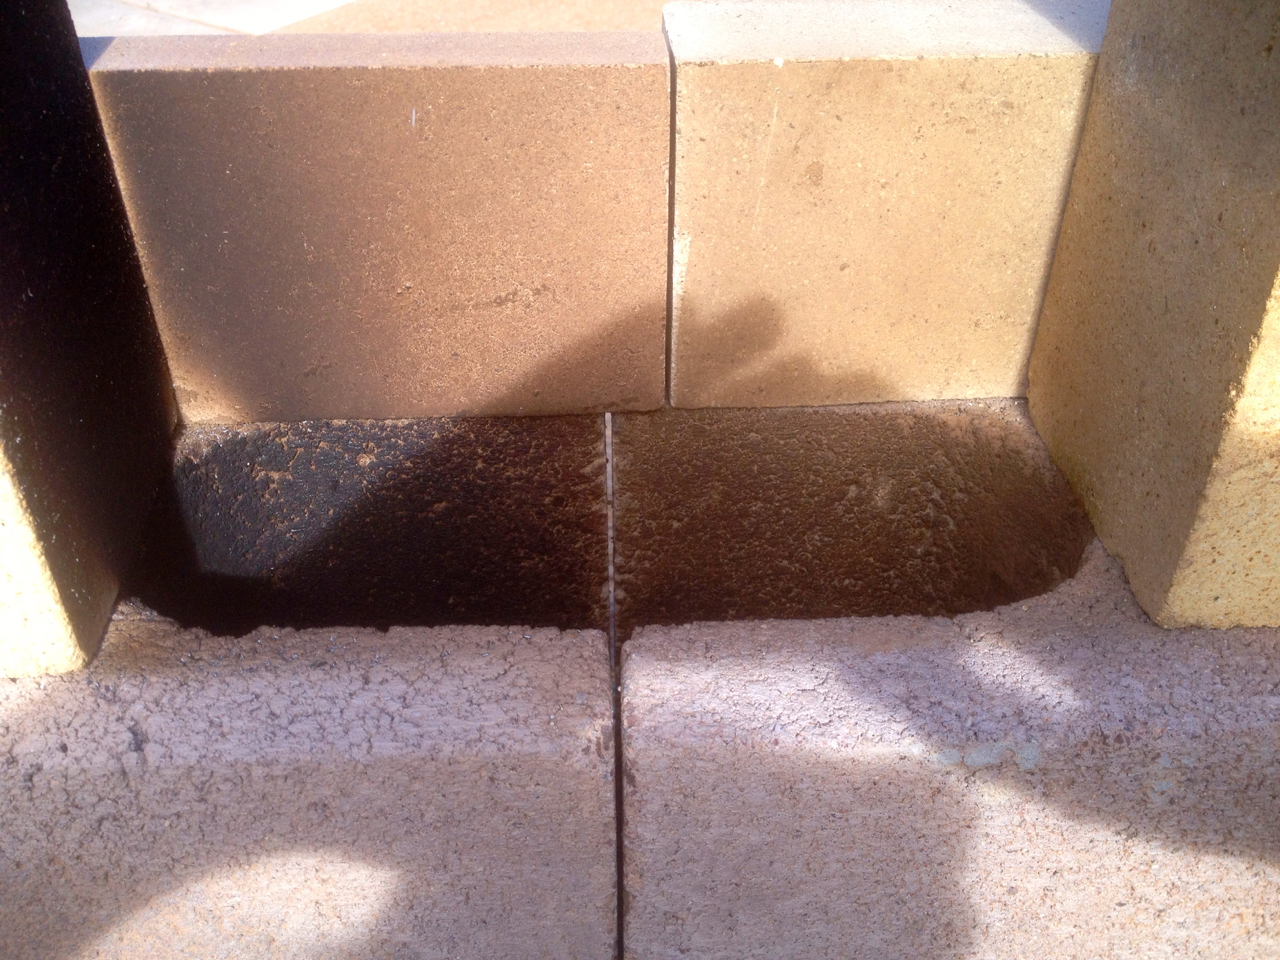
The image below shows a poor example of a Peter channel in this version. It is a slot about a quarter inch wide formed by a half brick blocking the back of the feed tube opening. Not much chance of preheat as it does not go down into the feed tube and it is not conductive metal.
The second iteration of this implementation had the primary refinement of adding a ceramic fiber blanket around the outside of the primary part of the heat riser. Overkill for this application but it is what I had on hand.
I had noticed the cinder blocks were getting rather hot done in the lower section so I figured some insulation would improve draft while also some what sealing the small spaces between the otherwise loose blocks.
This time is started the fire with the feed tube basically empty. First crumpled paper towels lighted and stuffed into the opening of the burn tunnel to start the draft. Then pine needles and cones added to get things going. Had clean burning rocket action in about 2 minutes, maybe less. The follow on fuel this time was freshly split alligator juniper or cedar. Did not bother to get moisture meter out but guessing it was higher content than if it had been split for a while. Had been cut a couple years before.
The messing with the load tube this time to minimize back burn and back smoke resulted in the opening getting reduced to about 5 by 4. The Peter channel was effectively gone having been covered by the dense ceramic fiber blanket. I notice it was really easy to kill the rocket action if there was too much wood or it was placed such that it restricted the airflow to the active fire area too much. In the end, burn back and smoke back was really minimal for this crude setup. The wind had gone really calm as it was getting late in the day so I don't know how that would have affected things.
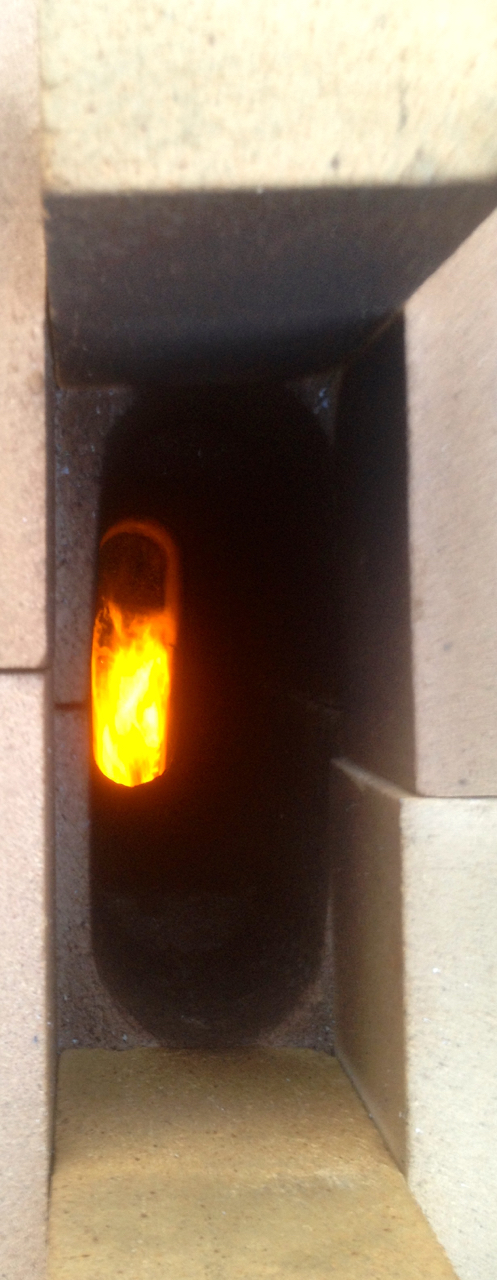
After many attempts, I got a shot down the "chimney" holding my iPhone above as far as I could reach and otherwise blindly pushing the button-without dropping it. Not that the bright part of the flame is going from front to back (bottom to top in this image).
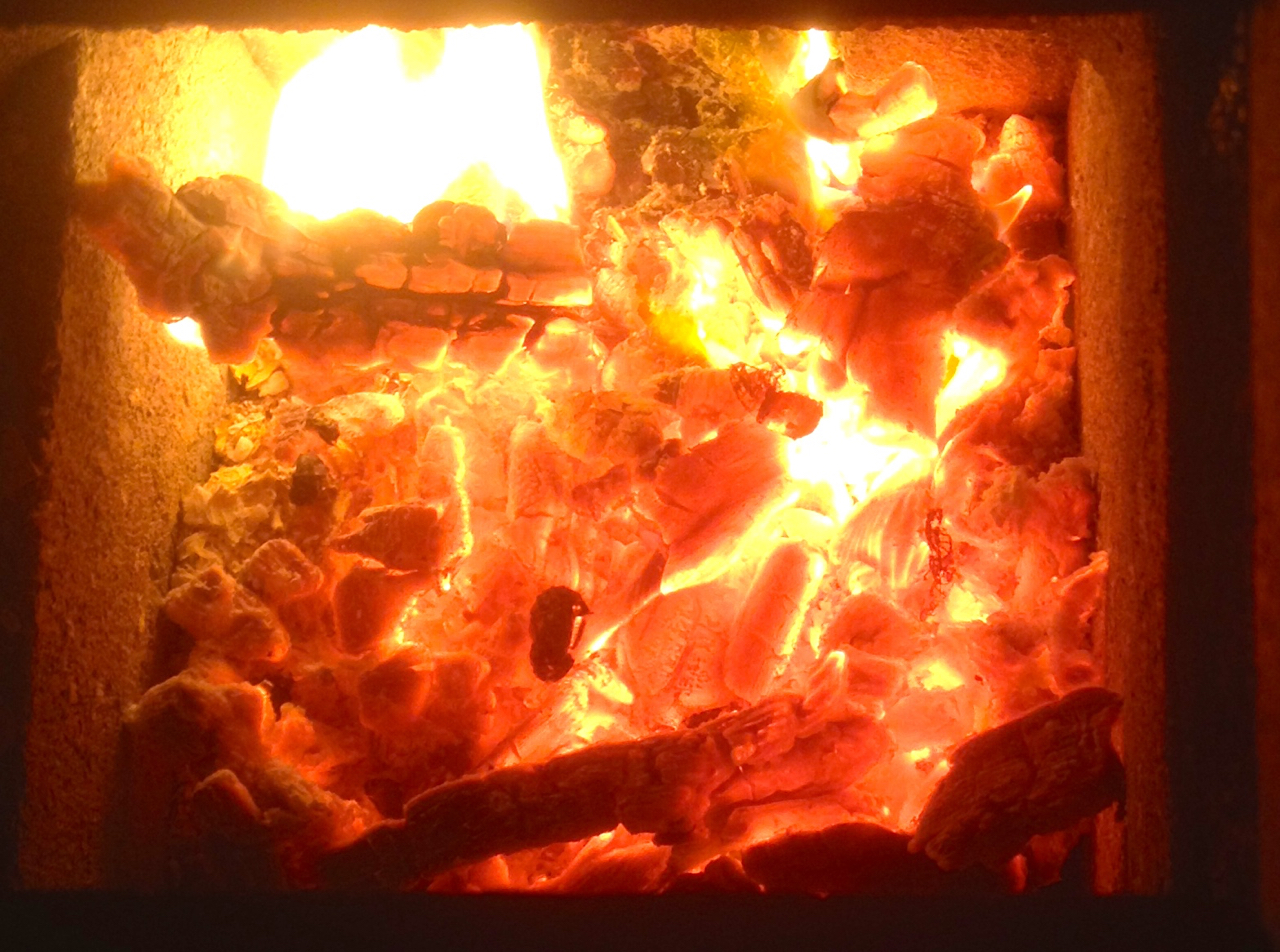
Looking down into the fuel tube at the glowing coals after the wood had burned away. Don't really see it in this image but I did notice some spots where fresh air was leaking in from the sides resulting in blue flame as the CO? burned.
At this point, the observation or results are pretty much just subjective as to rocket action, smokeless burn and minimal burn/smoke back. I am not ready to spend the money required to get a data logging combustion analyzer. And I know I am a long way from my initial goal of 300,000 btu/hour burn rate.
Before I leave this oval heat riser for a large csa rectangular one, I will rotate the oval 90 degrees to see what happens. This will shorten the path from the feed tube to the back of the heat riser by a bunch. Stay tuned.
I had a bunch of half oval cinder blocks laying around. It looked to me like an easy way to quickly make a heat riser would be to put some of these face to face and stack them up. I had previously done this sort of thing with smaller (5 by 5 ~24 square inch) squarish hole blocks with some degree of success. These 11 by 4 oval holes give me about 42 square inches. My goal is to get to a size that will put out about 300,000 btu per hour to replace the gasifier burner under my water heater.
My first attempts with this heat riser configuration did not work. No rocket action and smoke. I made several changes and it worked but as I made these changes all at once, I don't know what made the difference. Since I am at 6500 feet, I took Karl's suggestion so the heat riser is now about 47".
This does not go that far but I like to take things in steps.
The image below shows the initial setup running smoke free. You can see the heat shimmer from the top against the Ethernet cable strung in the background. The two sets of vertical blocks are the half ovals facing each other.
This is strictly a test/experimental setup. All loose not cemented blocks so I can make changes quickly/easily and not waste materials. The setup is on a heavy thick block of concrete encased in a steel frame so I can pick everything up with a forklift and move it to where is most convenient at the moment. I don't have my wet masonry saw at this location at present so everything has to be done with blocks the size they come. My present blocks are 8 by 8 by 16 half oval cinder blocks. 4 by 8 by 16 half oval cinder blocks. 8 by 12 by 16 (nominal) cinder block wall end column blocks with 8 by 11 hole. Full and half size standard fire bricks.
There are 5 half oval cinder blocks on end. The bottom one faces a pair of 4 by 8 solid cinder block on end separated by 4 to 5 inches. These form a throat that is about 5 inches wide by 16 inches tall. However, the front of the throat is limited by a column end block that is 8 inches off the floor so the effective throat cross section is about 40 square inches. The burn tunnel is about 1.5 inches long, sort of. The feed tube is about 8 by 8 by 16 tall--a solid 4 by 8 by 16 block closes off the bottom of the channel and reduces the inside size of the column end block. The fire brick on top of the feed tube were for closing down the feed tube opening.
The feed tube was filled with smallish pine cones and needles. several crumpled paper towels were dropped down the heat rise with a burning one dropped on top of them. A stick bushed the burning towels back toward the pine cones in the bottom of the feed tube and they eventually got going well enough for rocket action and clean burn. broken branches were added as the pine cones burned down until the state shown below was reached.
The image below is looking down into the feed tube about the same time as the image above was taken.
The image below shows a poor example of a Peter channel in this version. It is a slot about a quarter inch wide formed by a half brick blocking the back of the feed tube opening. Not much chance of preheat as it does not go down into the feed tube and it is not conductive metal.
The second iteration of this implementation had the primary refinement of adding a ceramic fiber blanket around the outside of the primary part of the heat riser. Overkill for this application but it is what I had on hand.
I had noticed the cinder blocks were getting rather hot done in the lower section so I figured some insulation would improve draft while also some what sealing the small spaces between the otherwise loose blocks.
This time is started the fire with the feed tube basically empty. First crumpled paper towels lighted and stuffed into the opening of the burn tunnel to start the draft. Then pine needles and cones added to get things going. Had clean burning rocket action in about 2 minutes, maybe less. The follow on fuel this time was freshly split alligator juniper or cedar. Did not bother to get moisture meter out but guessing it was higher content than if it had been split for a while. Had been cut a couple years before.
The messing with the load tube this time to minimize back burn and back smoke resulted in the opening getting reduced to about 5 by 4. The Peter channel was effectively gone having been covered by the dense ceramic fiber blanket. I notice it was really easy to kill the rocket action if there was too much wood or it was placed such that it restricted the airflow to the active fire area too much. In the end, burn back and smoke back was really minimal for this crude setup. The wind had gone really calm as it was getting late in the day so I don't know how that would have affected things.
After many attempts, I got a shot down the "chimney" holding my iPhone above as far as I could reach and otherwise blindly pushing the button-without dropping it. Not that the bright part of the flame is going from front to back (bottom to top in this image).
Looking down into the fuel tube at the glowing coals after the wood had burned away. Don't really see it in this image but I did notice some spots where fresh air was leaking in from the sides resulting in blue flame as the CO? burned.
At this point, the observation or results are pretty much just subjective as to rocket action, smokeless burn and minimal burn/smoke back. I am not ready to spend the money required to get a data logging combustion analyzer. And I know I am a long way from my initial goal of 300,000 btu/hour burn rate.
Before I leave this oval heat riser for a large csa rectangular one, I will rotate the oval 90 degrees to see what happens. This will shorten the path from the feed tube to the back of the heat riser by a bunch. Stay tuned.


