Earlier, I designed and built my take on a Rocket powered hot water system designed by Tim Barker and Geoff Lawton over at Zaytuna Farm.. For the original thread, with complete explanation, go
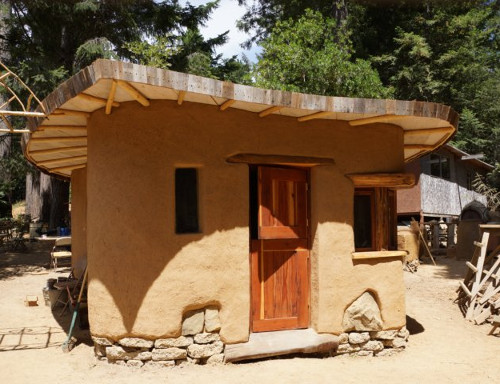
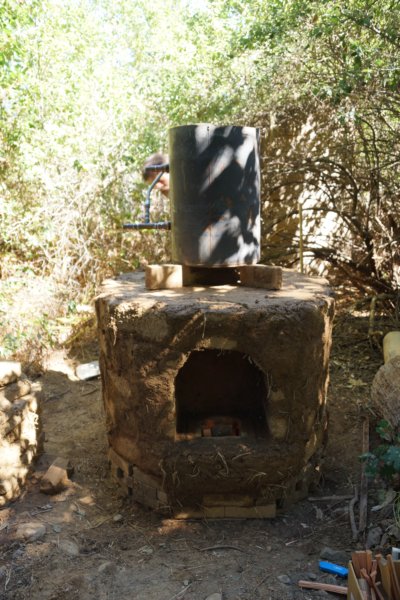
hereHere's my second attempt building this system, this time I think it's quite a bit nicer. The footprint is minimal, the feed is tucked away and not a tripping hazard, It's got a great look and is easy to replicate.
This heater is an 8 inch Rocket Stove with Tripwire (to a 6 inch chimney). The heat riser was cast in place using perlite/clay, packed between adobes and a piece of 8 inch stovepipe (which was removed immediately). It's a double-boiler safety system, with the buffer water inside of a bell for better heat distribution into the water.
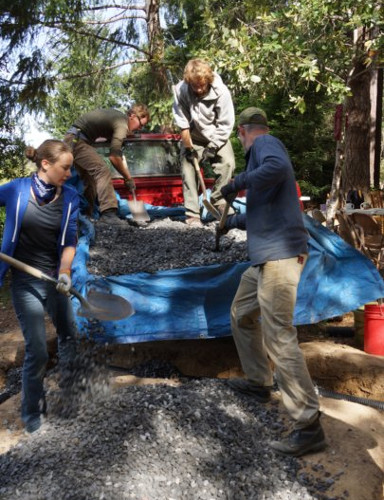
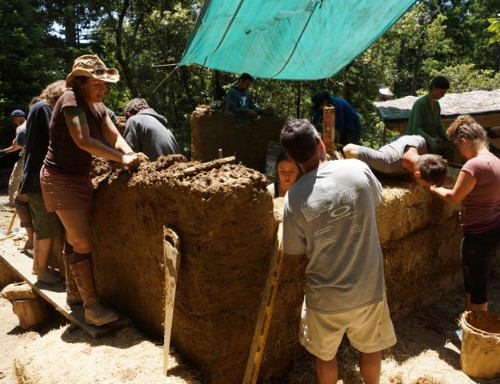
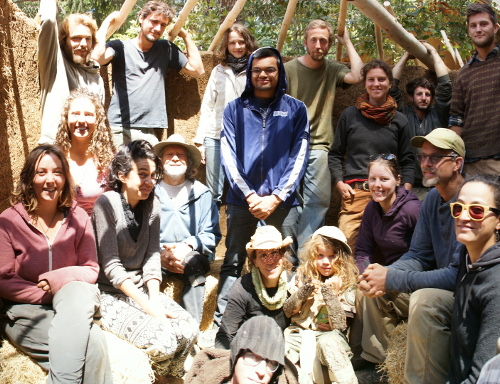
This system was built entirely in 3 days, during a workshop at the Laytonville Ecovillage in Laytoville California.
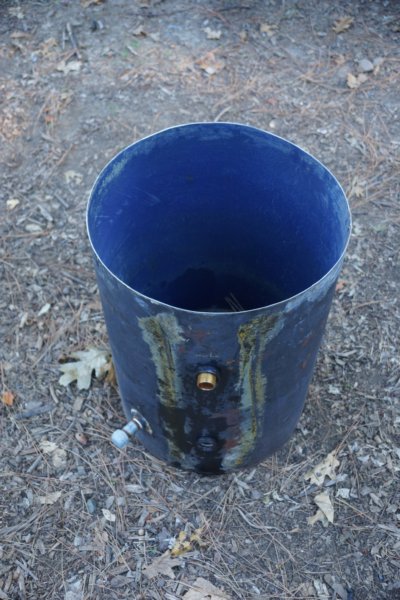
This is the water reservoir for the double boiler, hot water system. It's made by cutting to top off of a small(ish) electric hot water tank. This tank fits inside of the bell and is in direct contact with exhaust from the stove.
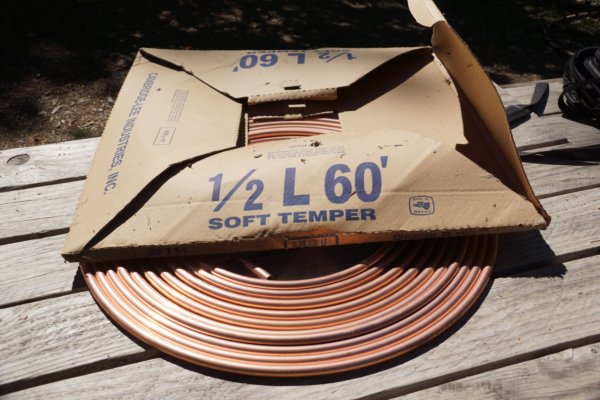
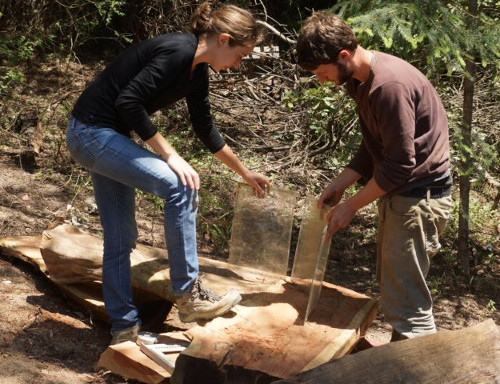
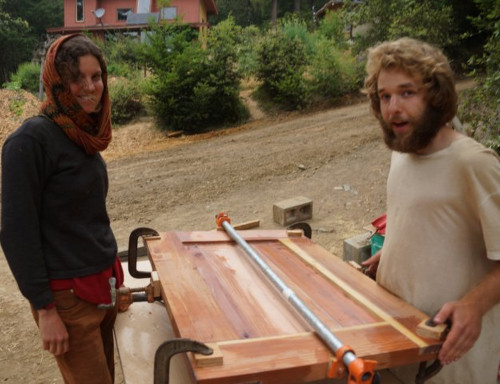
60 feet of half inch, soft copper pipe.
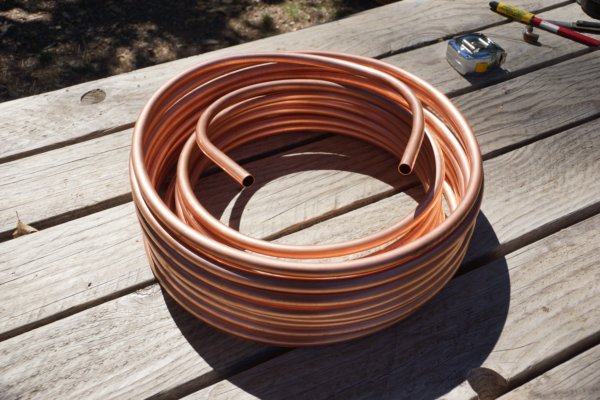
Rolled into a coil.
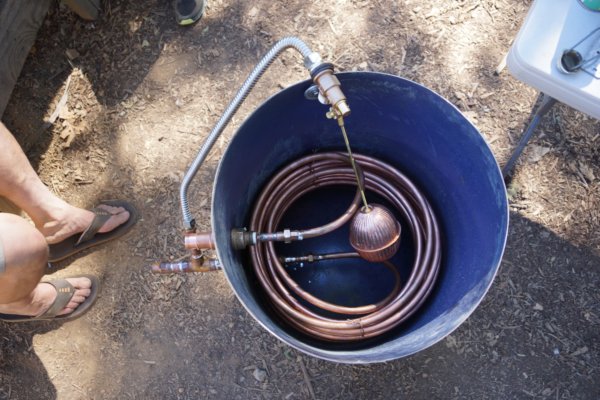
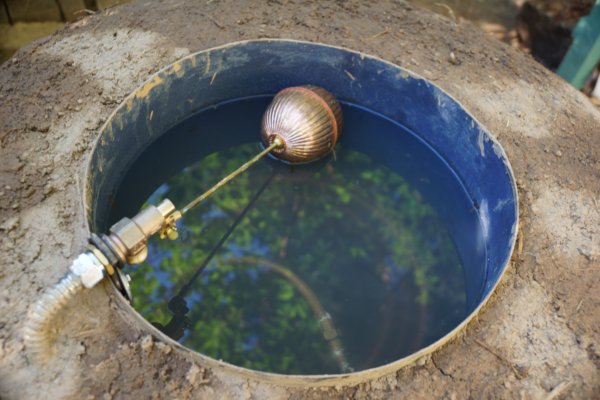
The metal bits, all together. The pipes, plumbed through the water heater, with float valve for auto refilling of the buffer water.
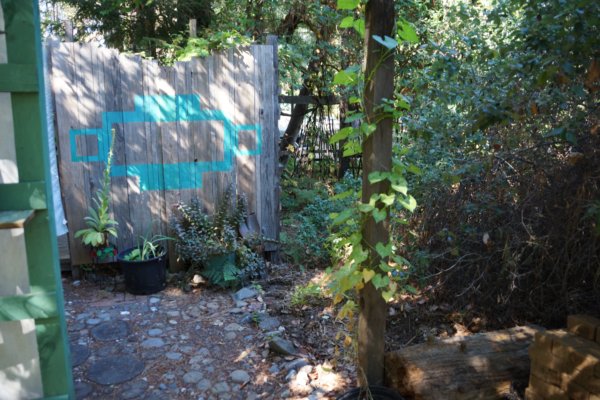
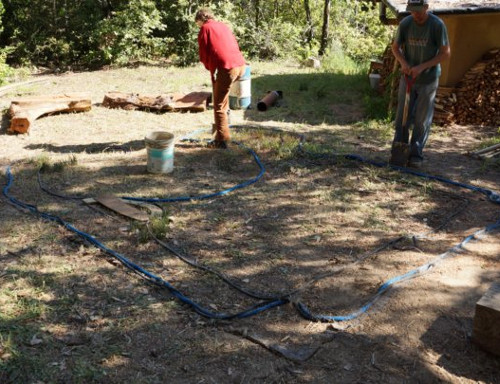
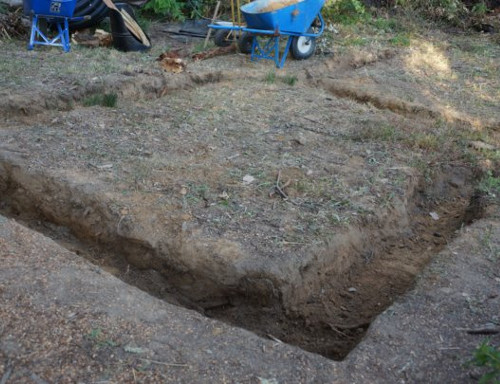
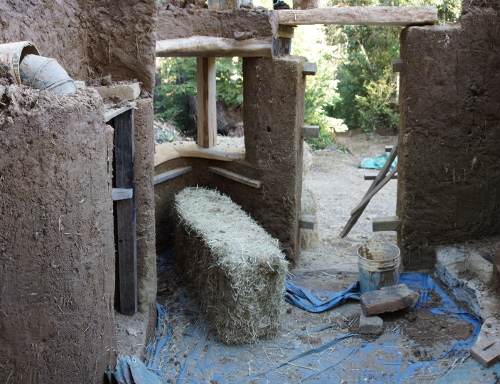
The building site: close enough to the existing shower building to provide easy plumbing, far enough away for fire safety and to keep the mess out of the walkway.
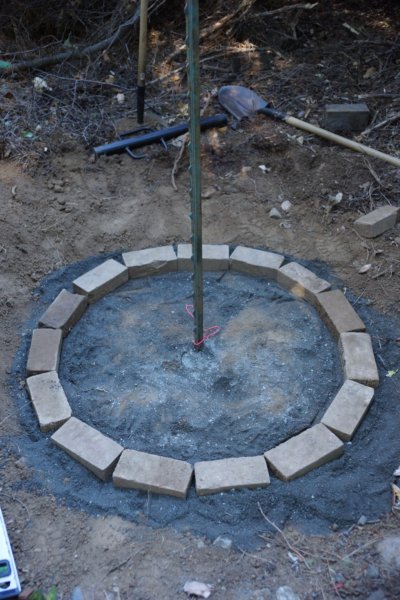
Hack the bushes back, mark the diameter with a string. Our hot water tank is 18 inches (or something like that) in diameter, we added roughly 8 inches all the way around for the bell (16 inches more in diameter) and 3 inches 0f adobe/cob (6 inches to diameter). The whole base was roughly 40 inches in diameter.
Building the Rocket Stove Heater core.
Installing the Tripwire brick
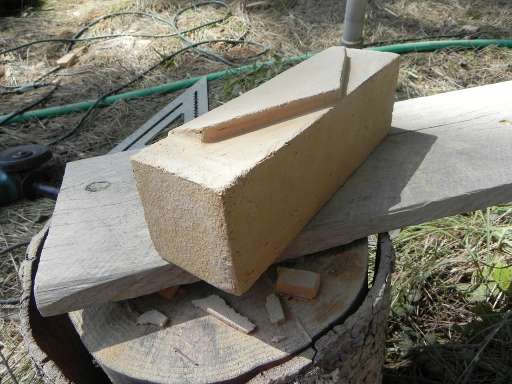
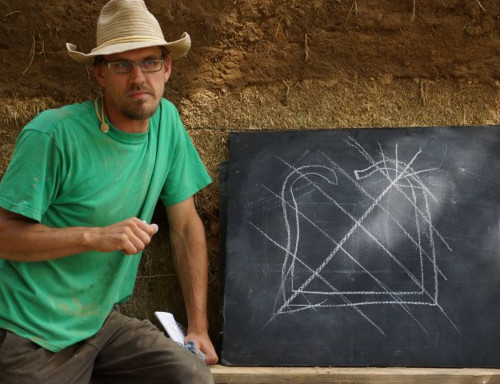
For reference, this is what the tripwire looks like. That ramp sits upside down in the top of the burn tunnel, tip of the "arrow" points to the heat riser.
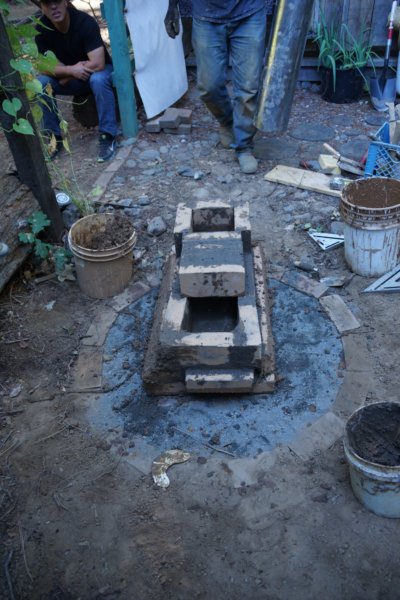
The brick part of the heater core, built.
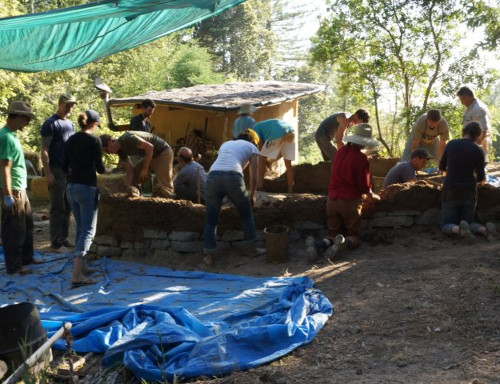
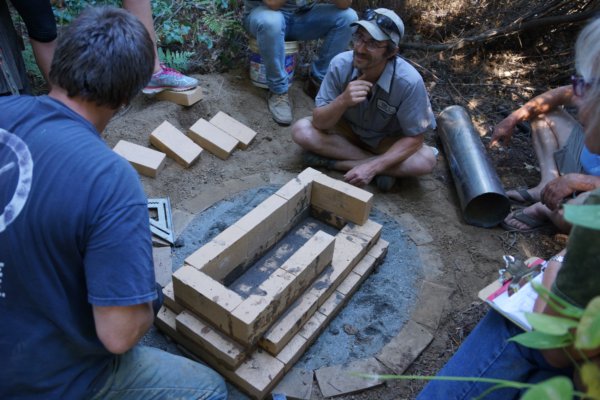
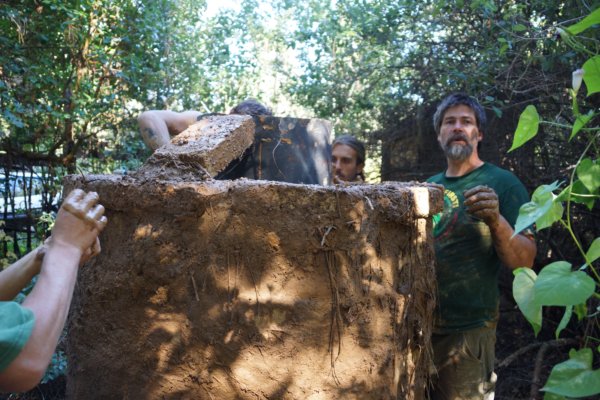
Now the body of the stove and it's internal chambers are built very quickly, using some reused/repurposed red-brick, adobe bricks and cob (as mortar/filler).

Here, the structure of the base is essentially finished, the shapes will be fixed up later.
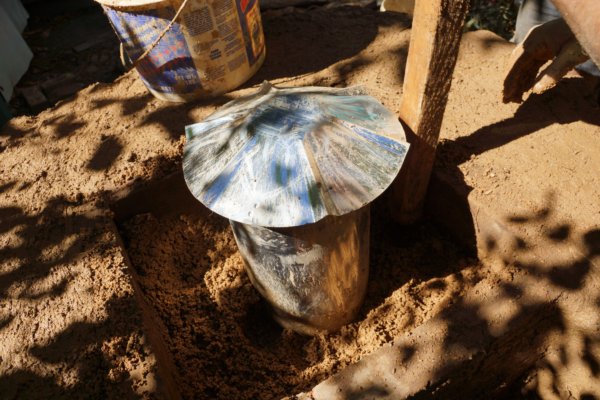
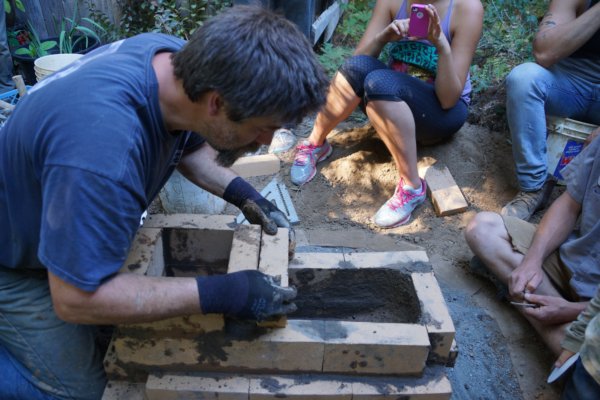
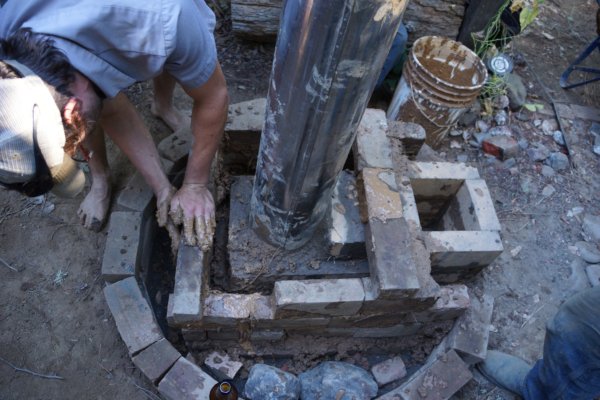
Here, perlite/clay is being gently packed between the outer jacket (bricks) and a piece of 8 inch stovepipe.
The stovepipe is pulled out, leaving behind our cast, perlite/clay heat riser.
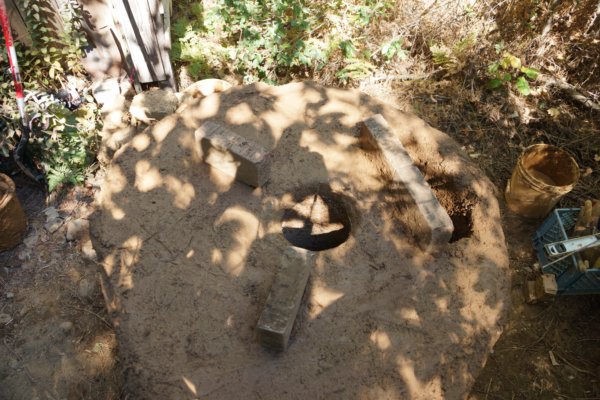
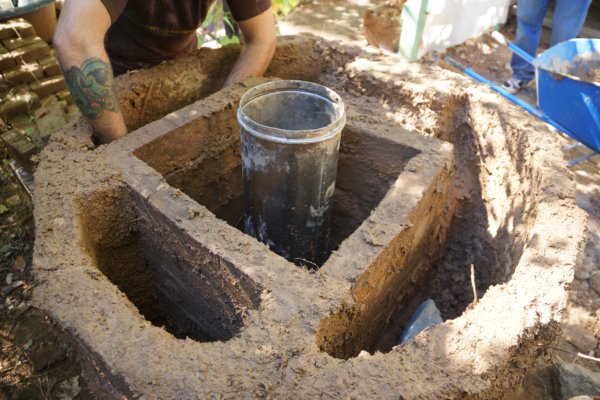
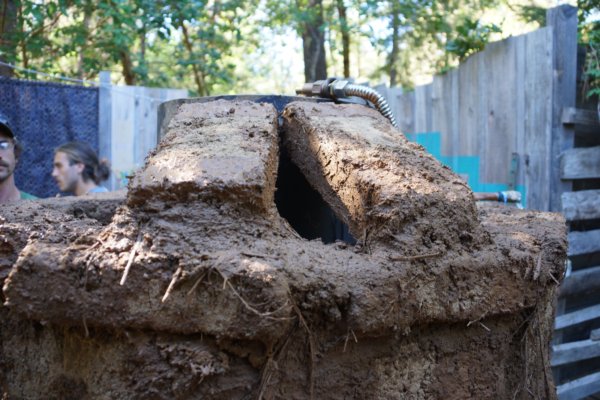
Notice here that the unused spaces have been filled with rubble, dirt, brick pieces and other junk; then everything is cobbed over, leaving a flat top. What we have here are the heat riser (round passage, roughly in the center) and the exhaust to the chimney, which is very low down and in the back. Bricks are placed to hold the water tank up and to act as a baffle to prevent exhaust gasses from short circuiting the system.
Chimney as low as practical. This is critical for bells, the exhaust must be at the bottom!
Tank placement.
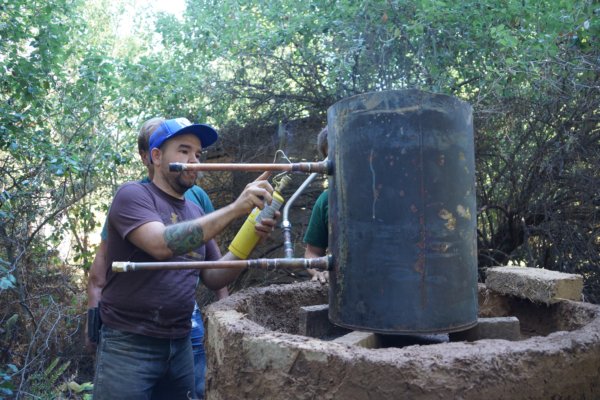
Attaching the plumbing connections.
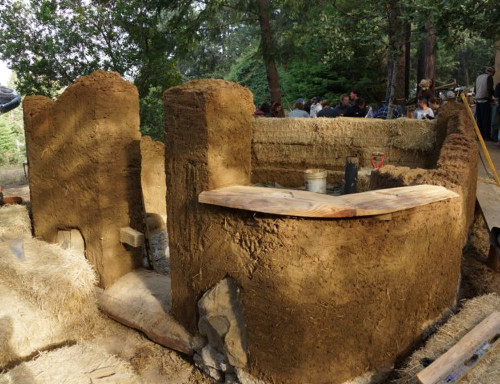
Close up the bell.
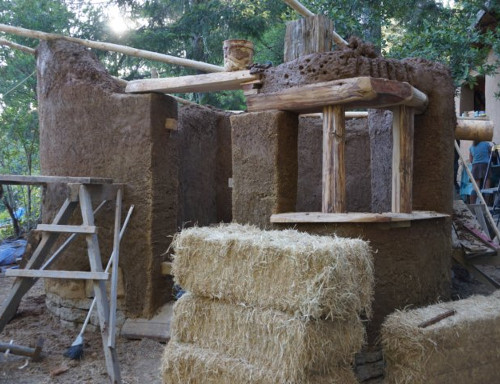
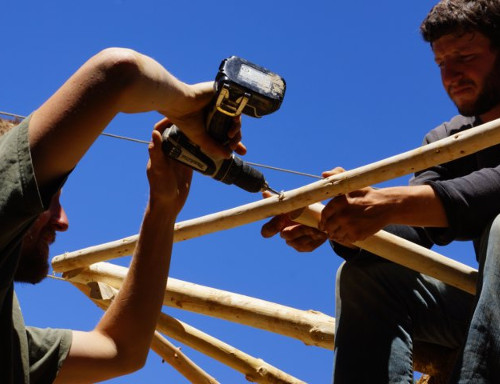
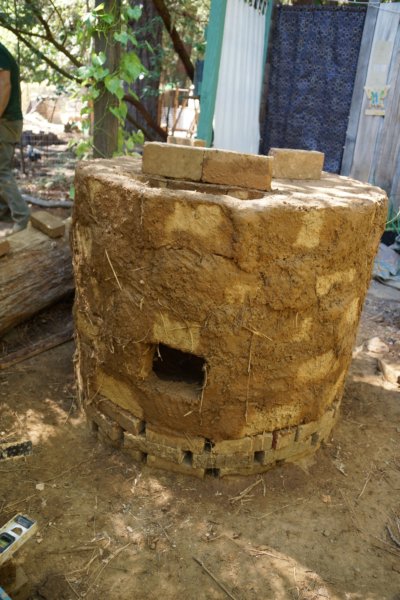
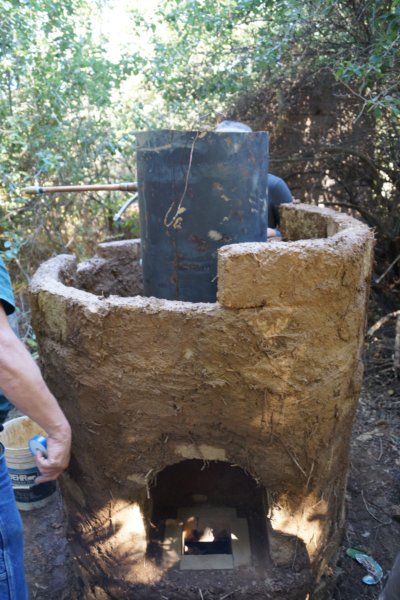
Starting to close in the top.
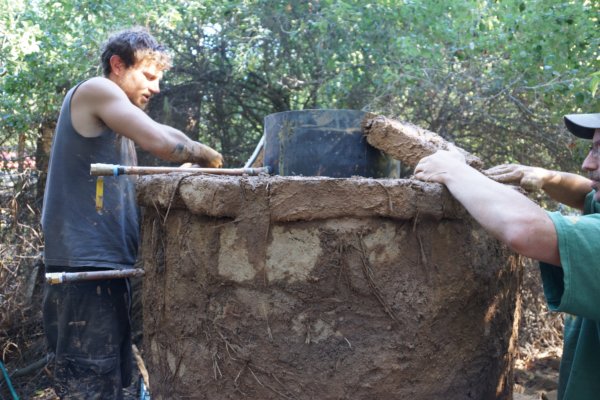
So as not to mess up placement of the barrel, the bricks had to be added evenly on two sides at a time, opposite each other for balance.
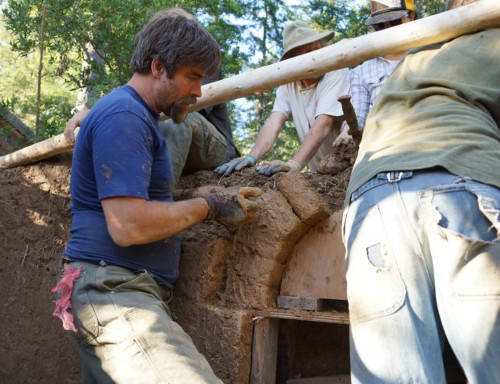
Just lean up the adobe bricks and cob between and around them.

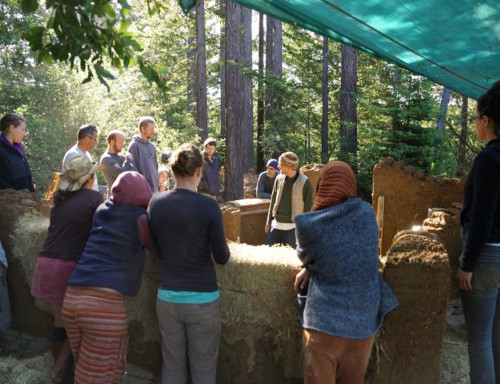
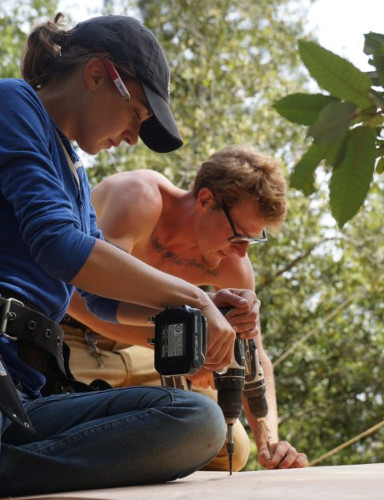
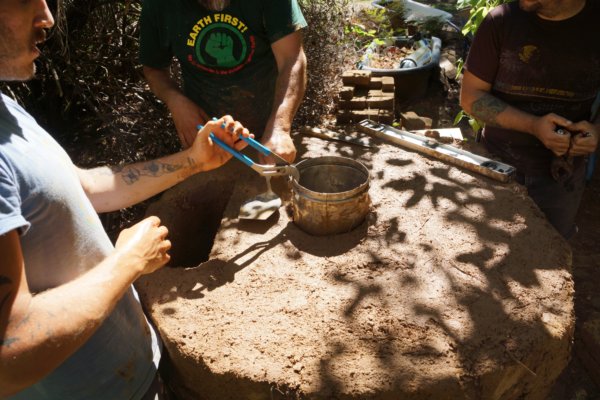
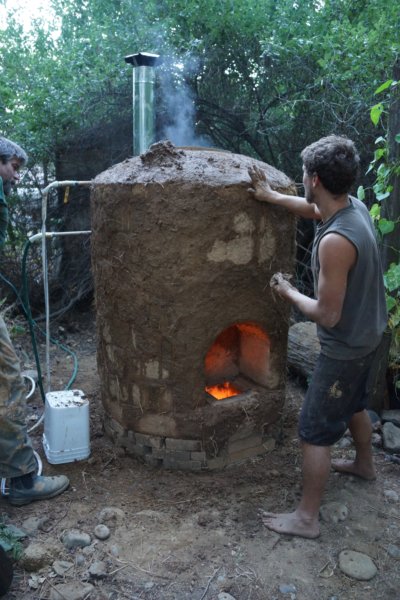
I'm a firm believer in firing the stove (any stove) early and often. I will build on them while they are burning.
Here, some of the boys log temperatures in a wet, freshly built stove.
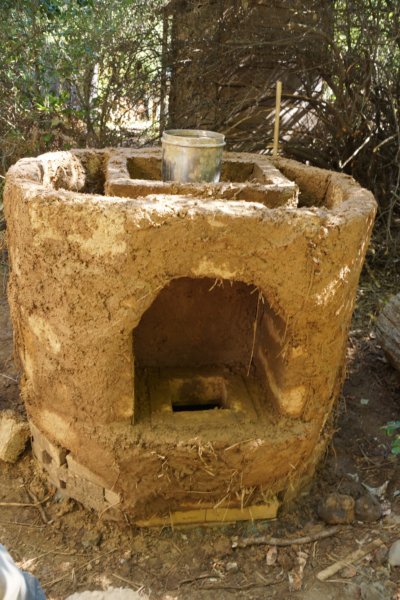
Fix up the shapes, a little carving here, a little more mud there till it looks "right".
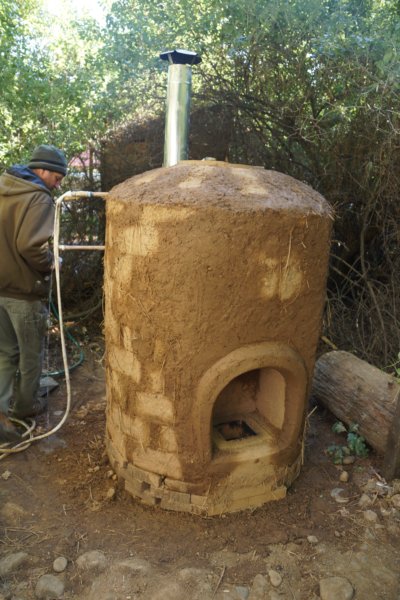
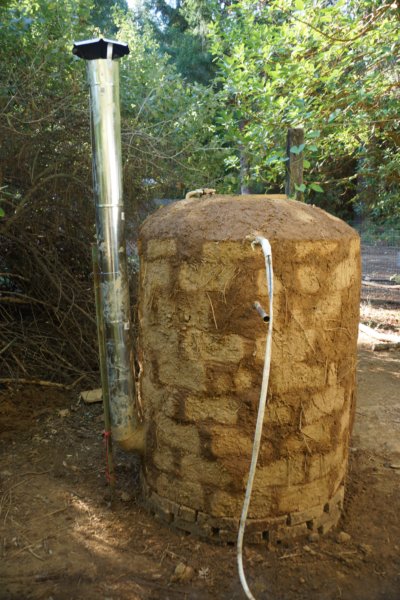
I should say, the firebox is an 8 inch system, it was built carefully to spec. as an 8 inch Rocket Stove. The chimney is a 6 inch chimney.
This is important!! As the exhaust cools, it (sometimes) helps to step down to a smaller chimney to insure proper draft.