|
|
Post by oxbowfarm on Dec 22, 2015 9:22:00 GMT -8
I've somewhat been trying to cram the batchbox heater info while throwing this together. I've learned a lot but I keep getting the nagging feeling I've missed important information that will make this thing a disaster. And while no single part is expensive, its been nickel and dimeing its way up in cost. El Nino has given me a long frost free December in which to do this scrambling. Here's where I am so far. The intention is for this to be the base for a single bell constructed of 6 half barrels, three on each side arranged end to end. I will now construct an interior wall to support the center edges of the half barrels. THis is the only part that is actually constructed at the moment, everything else is a jumble of assorted mess that will hopefully organize into a working mass heater. Or a big learning experience. The nice thing about building with mud/cob is it is reversible right?   |
|
|
|
Post by oxbowfarm on Dec 23, 2015 10:51:44 GMT -8
|
|
|
|
Post by oxbowfarm on Dec 25, 2015 12:25:39 GMT -8
I purchased some insulating fire brick from a friend to build the port and base of my heat riser. I've been trying to wrap my head around this batch box build and I felt more comfortable building with modular brick units rather than casting the critical port features in order to be more certain of getting the measurements close to the recomendations. I found this video on a permies thread. I thought the octagonal design was very clever, but at the prices I can get them for the riser in the video would be well over $100. I've cut some of the firebrick to make a 6" octagon using the bricks up on edge that mates very well with the cast perlite riser sections I had made previously. I'm only going to use the fire brick for the base of the riser at the level of the port. I've never ever worked with these insulating fire bricks, I found it a lot of fun and I made a video of my process. |
|
|
|
Post by oxbowfarm on Dec 29, 2015 15:30:00 GMT -8
|
|
|
|
Post by oxbowfarm on Dec 31, 2015 16:51:58 GMT -8
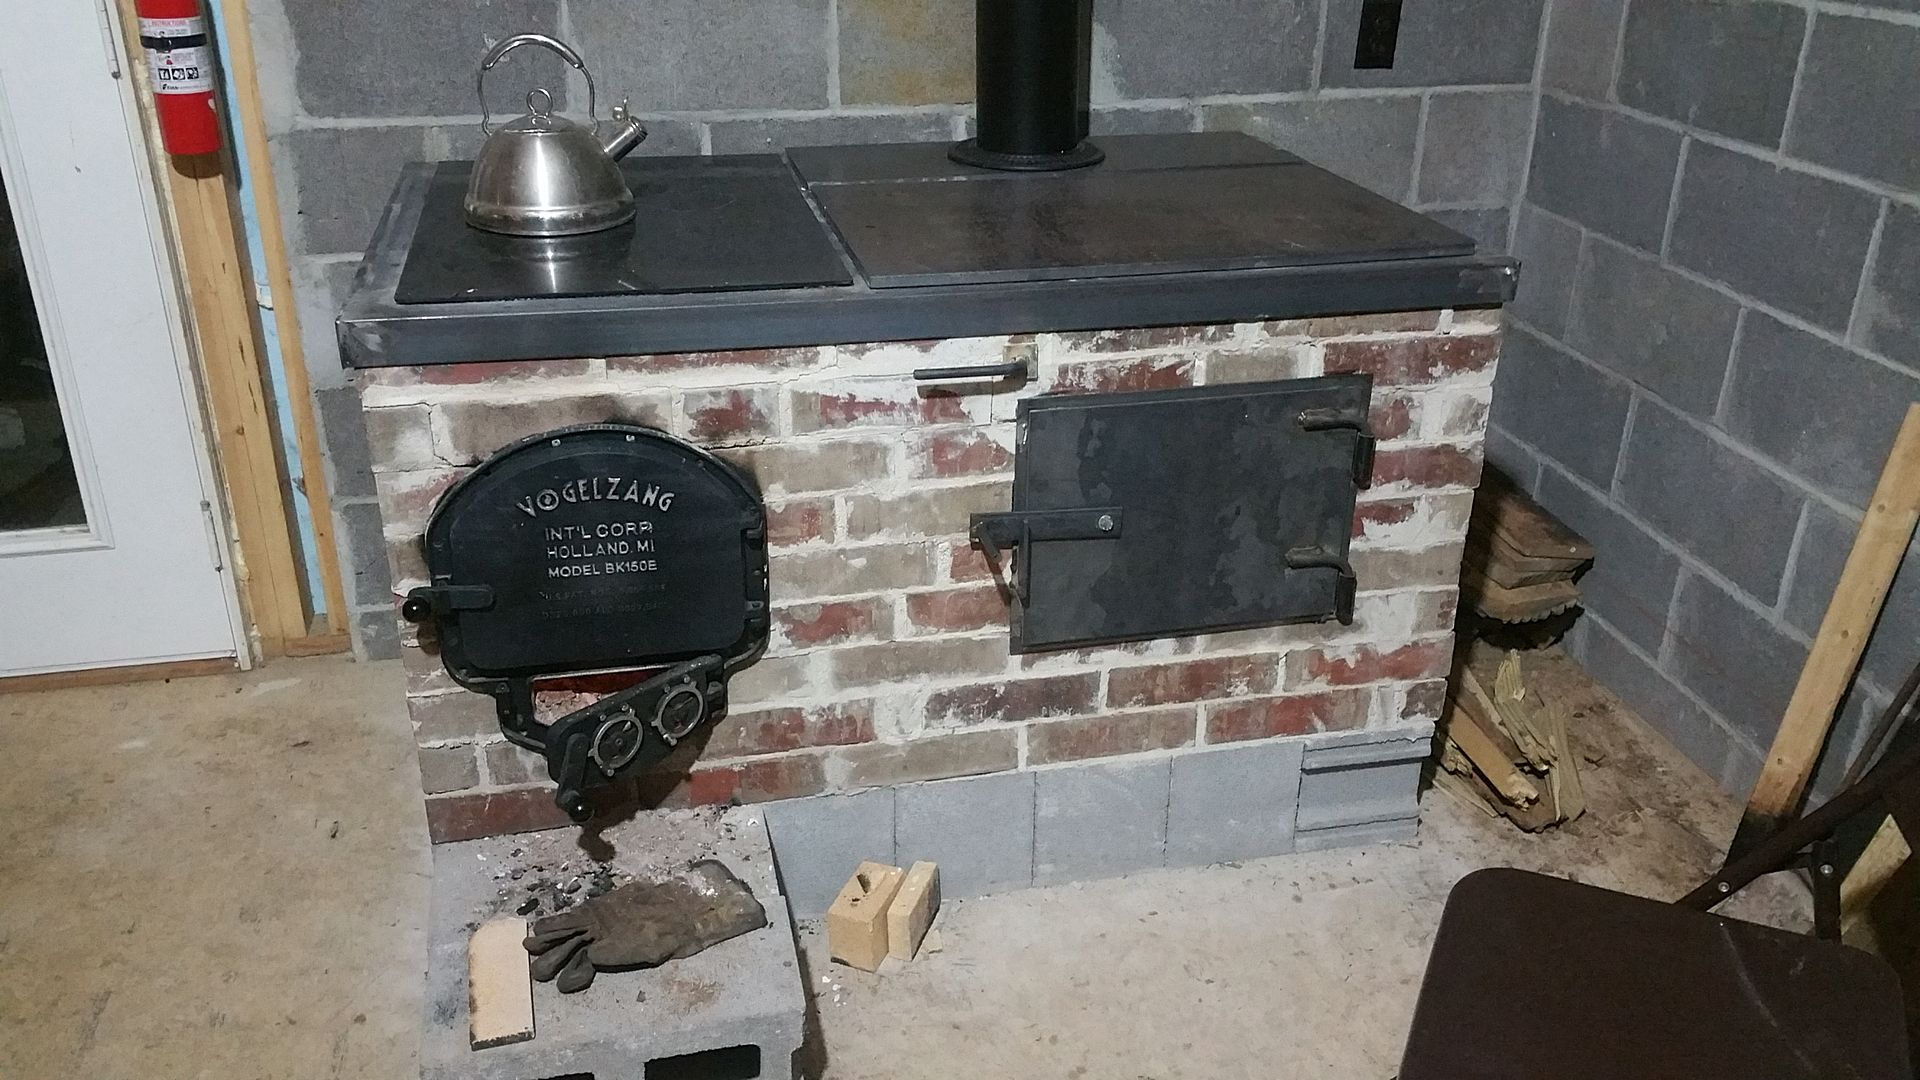
Riser is fully laid. Height ended up at 40 inches. I should have drawn out my design w/ measurements instead of just winging it, as I can't get any higher and maintain 12 inches of top gap. Gap is approximately 14 inches.  The riser constructed with these short "castings" didn't just end up a little corrugated, it ended up A LOT corrugated. So much for smooth internals, but I do not have any interest in doing it over at this time. If the thing absolutely will not work, that's probably the first thing I would try changing, as I can get at it fairly easily by pulling the barrel. But I don't have time to do the entire riser over at this point.  So the barrel is on, just need to work on the clean outs and the little bridges over the center wall on each end.  I decided to use this scrapped sink as my barrel plenum and it seemed like the drain hole would serve as a clean-out port if I can suitably extend to the exterior of the mass. This was my solution.   |
|
|
|
Post by satamax on Dec 31, 2015 22:49:03 GMT -8
I like the idea of using the sink to make the plenum. Tho, you don't worry that it might crack with heat?
|
|
|
|
Post by oxbowfarm on Jan 1, 2016 3:12:55 GMT -8
I like the idea of using the sink to make the plenum. Tho, you don't worry that it might crack with heat? It isn't a porcelain sink. It is stainless steel. There is some kind of spray-on insulation product on the underside that makes it look so white, I assume to reduce condensation when the sink is full of cold water? Most of the foam has actually washed off since it has been laying upside down outside my shed for a year or so since my dad gave it to me. |
|
|
|
Post by plcnut on Jan 1, 2016 18:15:41 GMT -8
I assume to reduce condensation when the sink is full of cold water? It is actually to deaden the sound when dishes bang around in there. The manufacturers can use really thin materials without the sink sounding 'tinny'. So far your build looks great! |
|
|
|
Post by oxbowfarm on Jan 3, 2016 7:46:19 GMT -8
I've got the bell covered and semi-sealed enough to light the stove up and test for leaks and function. Very leaky and smoking back like crazy when the wind is wrong. Not very pleasant. I'm hoping it will improve as the stove dries and I learn more about how to light and use it.  I ran this little electric heater into the firebox over a few nights to try and dry down the surfaces. I was a little concerned about the port bricks as they had been out in the rain for quite some time when I got them (with algae growing on them).   |
|
|
|
Post by peterberg on Jan 3, 2016 8:22:44 GMT -8
Oxbow, it's a 6" batch box, isn't it? There's still some debate about what size of bell this could serve. Please, try to calculate the size of your barrel and bells. When it is more than 6 m2 that could spell trouble. When the total internal surface area excluding the floor is within these limits it's just that the thing is wet and all. Also, the half barrels being bare will shed a lot more heat than when covered by cob.
|
|
|
|
Post by oxbowfarm on Jan 3, 2016 10:37:18 GMT -8
Oxbow, it's a 6" batch box, isn't it? There's still some debate about what size of bell this could serve. Please, try to calculate the size of your barrel and bells. When it is more than 6 m2 that could spell trouble. When the total internal surface area excluding the floor is within these limits it's just that the thing is wet and all. Also, the half barrels being bare will shed a lot more heat than when covered by cob. Yes, a 6" batch box. There are 6 half barrels roofing the bell, and 1.5 barrels compose the heat riser/plenum area. I've seen conflicting things here as to whether or not the riser barrel counts as bell surface area. The daunting aspect of calculating internal surface area is the walls below the half barrels. They are much more irregular than a brick bell would be, as they are rock and mud layed up and I did not attempt to smooth off the internal surface. I thought 6 half barrels were approximately 5m2 and that I was being conservative with the build. I am going to continue with this and see what happens. It does draft even while smoking back. I tried to make the plenum very much larger than system size. It is approximately 144 inch2 |
|
|
|
Post by satamax on Jan 3, 2016 12:09:19 GMT -8
How's your chimney?
|
|
|
|
Post by pinhead on Jan 5, 2016 12:16:12 GMT -8
That's a pretty big "bench" and a LOT of heat extraction. You'll probably need a closable "bypass" which could be easily added at this point by using a straight length of 6" tubing down the middle of your bench straight to the chimney. Then once the fire is roaring and the chimney is good and warm you switch down to the bell.
You'll definitely need a "substantial" chimney to keep this beast going. I would have built an 8" stove for such a big bell - IMO of course.
|
|