Post by wiscojames on Sept 24, 2014 18:37:42 GMT -8
First, thanks for all of the shared knowledge. Like many here, I am hooked. Something about fire and earth being harnessed in such an efficient way...
So, I followed Matt's advice and started playing with mud (I can't recommend it highly enough) before trying to build anything permanent. The soil seems pretty good here, so I sifted some and got going. Along with that, I started with some 'splits', some common bricks, and a 2 foot section of 6 inch stovepipe. I was able to fashion a decent batch box (I can't remember all of the reasons, but I abandoned the J configuration early on and have not yet returned to it) that seemed to burn pretty well. I tried to follow the general size recommendations for a 6" system. As the innards were brick, it ran pretty well straight away:
youtu.be/CvVAbGRq_qY
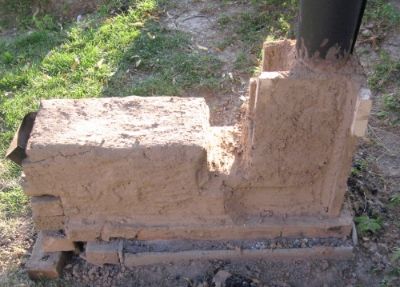
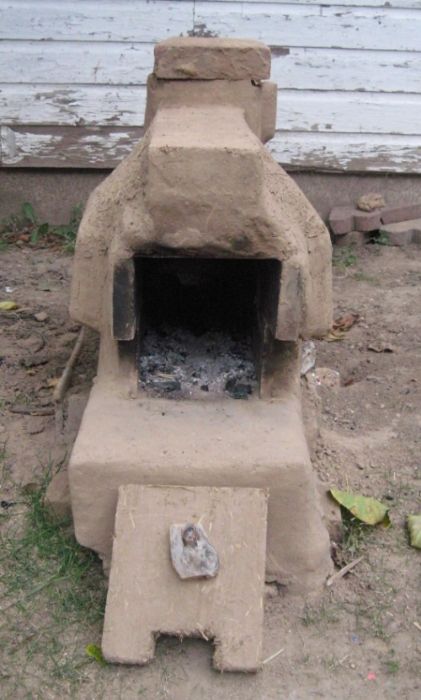
The project gave me the opportunity to try different mixes (with and without sawdust, thinner and thicker consistencies, etc.) and learn how the stuff performs. I also made some adobes, which I ended up using on the top and the sides of the fire box. I made these using more sawdust, so in theory more insulating. Here it is after I broke off the chimney to use on the next one temporarily.
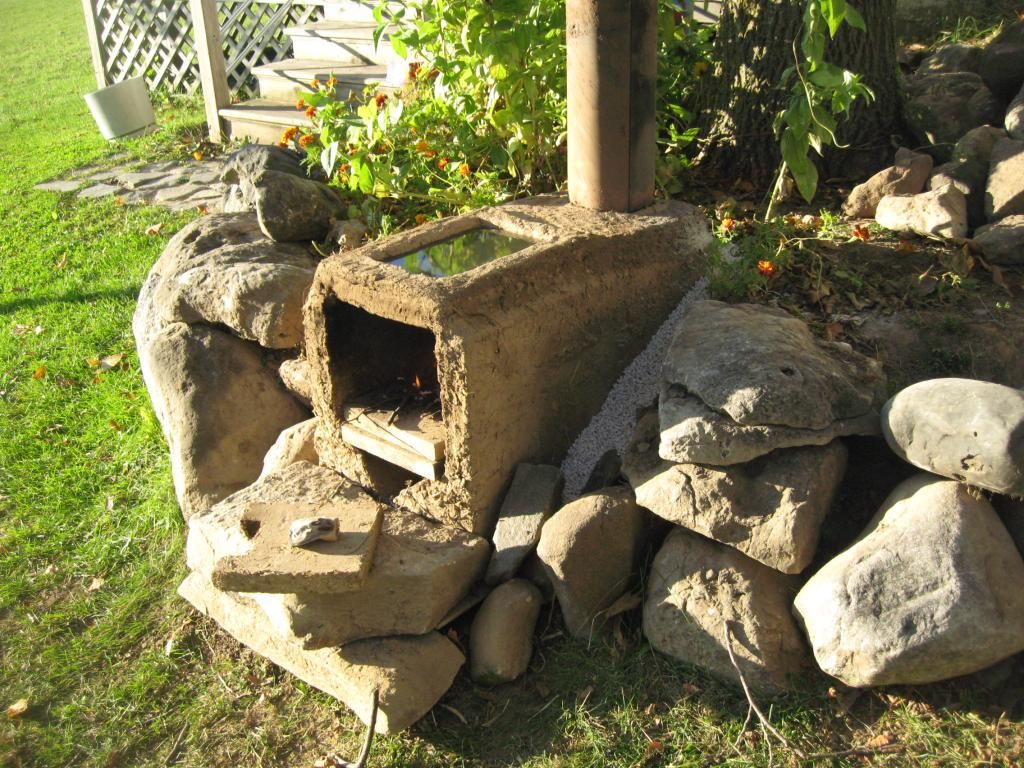
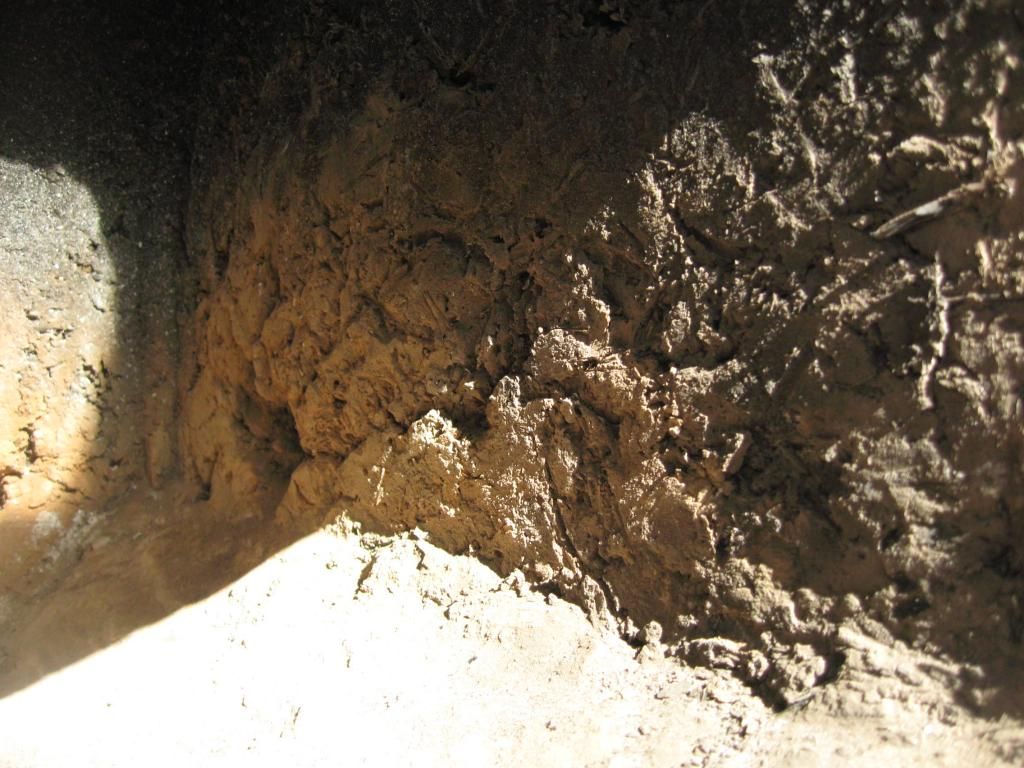
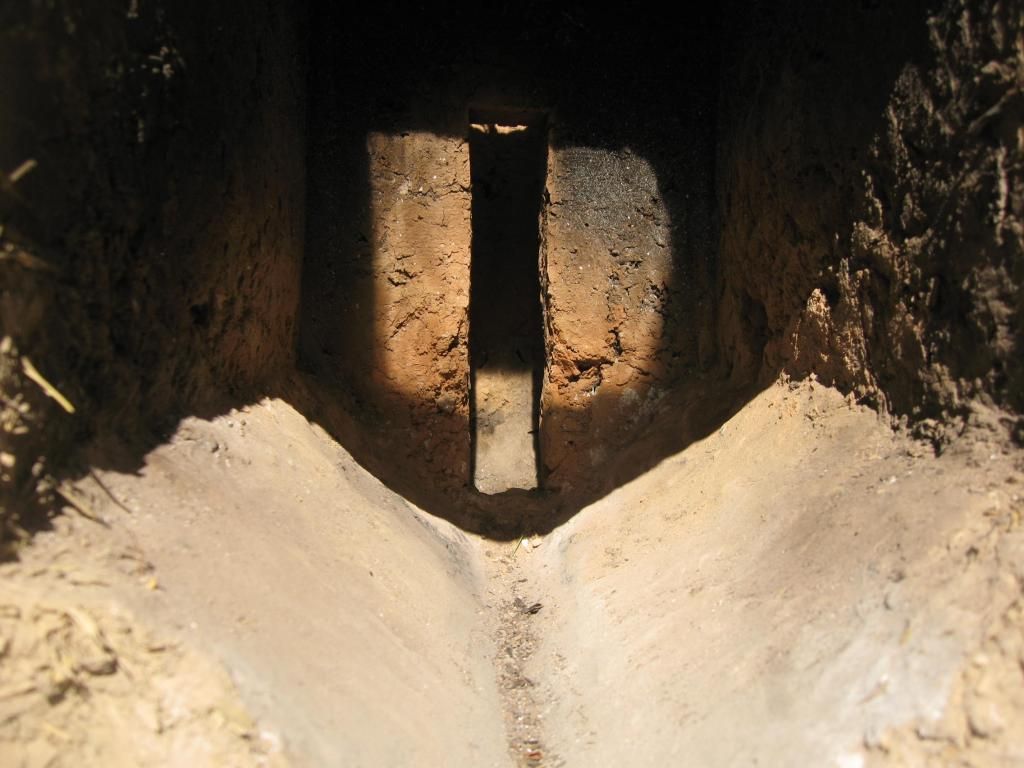
My next experiment was to make a 6" version of the mud batch box that Donkey shared. I used half inch particle board with pieces of two-by-two in the inside corners and made a box roughly 14"W x 30"L x 16"H. I then built a smaller box to be the form for the fire box, roughly 8.5""W x 18"D x 13"H. I cut a rectangular hole in the back for the throat and fixed a short section of 2 x 10 into the hole. The back of the 2 x 10 butted up against the stovepipe when it was time to fill the form. All of this was sized using Peter van den Berg's numbers (thanks for doing the heavy lifting, Peter!), via the handy dandy excel document that someone (Karl?) shared. Beats doing those calculations by hand!
My son helped me to mix the cob and fill the form. (What 6 year old in his right mind wouldn't enjoy playing in the mud with his dad?) My intention was to use the same mix to fill the entire form, but ended up fudging a little towards the end, when I found that I didn't have enough mixed. Generally, clay soil sifted through quarter inch mesh + some sand + some straw + some wood shavings + a little ash. Winged it completely, hoping that the balance isn't so critical. I tried to keep it on the dry side to encourage faster setting.
First, 2 inches of cob into the bottom of the form, then the smaller form for the box and the stove pipe went into place. Next, more (and more, and more) material to fill the entire form. (I did some calculations to see how many batches I would need, and I wasn't too far off. It ended up being about 20 or 25 gallons of mix.)
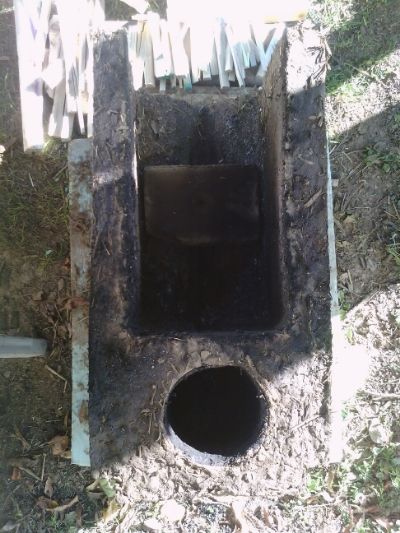
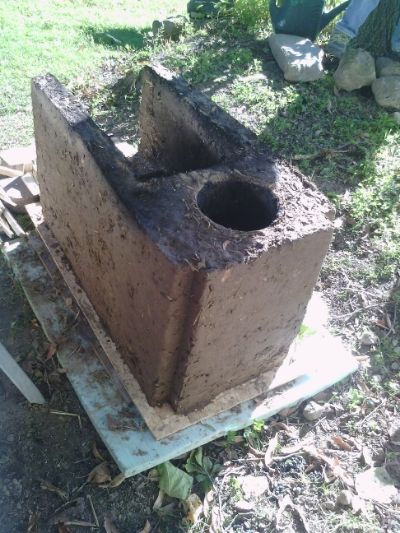
With the bit of leftover material, I made a top for the box, 10" x 20" and about an inch thick, in a one by four form. Due to the moisture and the shorter than called for riser, it was bit of a lazy burn at first:
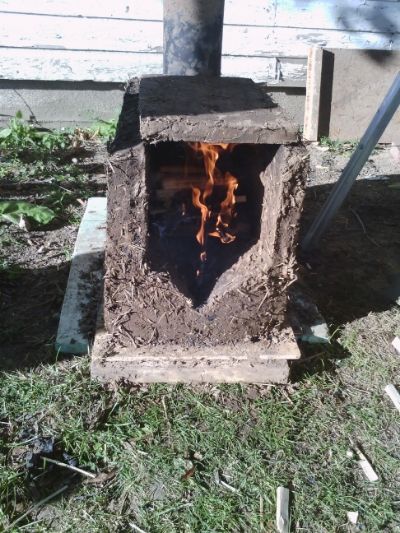
I still need to add the secondary air channel and make a door for the stove. I love the idea of a glass door, but it will be mud for now. I also need an insulated riser, taller than the 24" stove pipe I am using now. ...since I typed that I was outside with my kids and in order to show them that building with mud and bricks is akin to building with Legos, we snapped the insulated riser (I use that term loosely. It was a two foot section of 6" stove pipe wrapped in chicken wire, then coated in about two inches of sawdust-based cob) off of the first stove and put it on the second stove. That, in addition to drying a bit with time, resulted in a faster, hotter burn this time around. I wouldn't say that it's roaring yet, but I am optimistic. I will update when it is a few days drier.

Observations:
Have more materials on hand than you think you will need. It's no fun running to sift more soil in the middle of the project.
Half inch plywood (or particle board) is probably the minimum that could be used for this without lots of reinforcement to keep the sides from deforming outwards. Plywood would probably be better for the sake of reusing the form, though one could maybe wax the interior to keep the form from absorbing too much water.
I now understand what Donkey meant by "slump and slop". In an effort to speed up the drying I removed the sides a little too early and the thing experienced some deformation. I was able to minimize it, but it certainly isn't "true and square".
The top dried more quickly of course, but I should have waited a little longer for that as well (a recurring theme here?), as it sagged a little before drying over the heat of the first fire.
I'd like to use one of these (maybe an 8" system?) to power a mud oven, along the lines of the one Donkey made and shared this summer.
Comments or questions are welcome.
Questions:
6" or 8" for an average size mud oven?
If I use this, or a similar one cast from natural materials, I need to insulate quite a bit more around the firebox, right? (I know the riser needs 2 or 3 inches of insulation)
What about casting the batch box from mostly perlite with some clay fines (instead of fire clay) and some waterglass? Lighter and harder and more insulating? I will report back any interesting findings.
Finally, now that I am addicted to the combination of mud and fire, why am I cursed by living in a climate that makes it very difficult to work with the soil 6 months out of the year?
So, I followed Matt's advice and started playing with mud (I can't recommend it highly enough) before trying to build anything permanent. The soil seems pretty good here, so I sifted some and got going. Along with that, I started with some 'splits', some common bricks, and a 2 foot section of 6 inch stovepipe. I was able to fashion a decent batch box (I can't remember all of the reasons, but I abandoned the J configuration early on and have not yet returned to it) that seemed to burn pretty well. I tried to follow the general size recommendations for a 6" system. As the innards were brick, it ran pretty well straight away:

youtu.be/CvVAbGRq_qY
The project gave me the opportunity to try different mixes (with and without sawdust, thinner and thicker consistencies, etc.) and learn how the stuff performs. I also made some adobes, which I ended up using on the top and the sides of the fire box. I made these using more sawdust, so in theory more insulating. Here it is after I broke off the chimney to use on the next one temporarily.

My next experiment was to make a 6" version of the mud batch box that Donkey shared. I used half inch particle board with pieces of two-by-two in the inside corners and made a box roughly 14"W x 30"L x 16"H. I then built a smaller box to be the form for the fire box, roughly 8.5""W x 18"D x 13"H. I cut a rectangular hole in the back for the throat and fixed a short section of 2 x 10 into the hole. The back of the 2 x 10 butted up against the stovepipe when it was time to fill the form. All of this was sized using Peter van den Berg's numbers (thanks for doing the heavy lifting, Peter!), via the handy dandy excel document that someone (Karl?) shared. Beats doing those calculations by hand!
My son helped me to mix the cob and fill the form. (What 6 year old in his right mind wouldn't enjoy playing in the mud with his dad?) My intention was to use the same mix to fill the entire form, but ended up fudging a little towards the end, when I found that I didn't have enough mixed. Generally, clay soil sifted through quarter inch mesh + some sand + some straw + some wood shavings + a little ash. Winged it completely, hoping that the balance isn't so critical. I tried to keep it on the dry side to encourage faster setting.
First, 2 inches of cob into the bottom of the form, then the smaller form for the box and the stove pipe went into place. Next, more (and more, and more) material to fill the entire form. (I did some calculations to see how many batches I would need, and I wasn't too far off. It ended up being about 20 or 25 gallons of mix.)


With the bit of leftover material, I made a top for the box, 10" x 20" and about an inch thick, in a one by four form. Due to the moisture and the shorter than called for riser, it was bit of a lazy burn at first:

I still need to add the secondary air channel and make a door for the stove. I love the idea of a glass door, but it will be mud for now. I also need an insulated riser, taller than the 24" stove pipe I am using now. ...since I typed that I was outside with my kids and in order to show them that building with mud and bricks is akin to building with Legos, we snapped the insulated riser (I use that term loosely. It was a two foot section of 6" stove pipe wrapped in chicken wire, then coated in about two inches of sawdust-based cob) off of the first stove and put it on the second stove. That, in addition to drying a bit with time, resulted in a faster, hotter burn this time around. I wouldn't say that it's roaring yet, but I am optimistic. I will update when it is a few days drier.

Observations:
Have more materials on hand than you think you will need. It's no fun running to sift more soil in the middle of the project.
Half inch plywood (or particle board) is probably the minimum that could be used for this without lots of reinforcement to keep the sides from deforming outwards. Plywood would probably be better for the sake of reusing the form, though one could maybe wax the interior to keep the form from absorbing too much water.
I now understand what Donkey meant by "slump and slop". In an effort to speed up the drying I removed the sides a little too early and the thing experienced some deformation. I was able to minimize it, but it certainly isn't "true and square".
The top dried more quickly of course, but I should have waited a little longer for that as well (a recurring theme here?), as it sagged a little before drying over the heat of the first fire.
I'd like to use one of these (maybe an 8" system?) to power a mud oven, along the lines of the one Donkey made and shared this summer.
Comments or questions are welcome.
Questions:
6" or 8" for an average size mud oven?
If I use this, or a similar one cast from natural materials, I need to insulate quite a bit more around the firebox, right? (I know the riser needs 2 or 3 inches of insulation)
What about casting the batch box from mostly perlite with some clay fines (instead of fire clay) and some waterglass? Lighter and harder and more insulating? I will report back any interesting findings.
Finally, now that I am addicted to the combination of mud and fire, why am I cursed by living in a climate that makes it very difficult to work with the soil 6 months out of the year?


