radek
Junior Member

Posts: 94
|
Post by radek on Oct 31, 2014 2:01:50 GMT -8
|
|
radek
Junior Member
Posts: 94
|
Post by radek on Oct 31, 2014 2:04:33 GMT -8
|
|
|
|
Post by matthewwalker on Oct 31, 2014 8:40:46 GMT -8
Wow. Thanks for the update Radek. That is an incredible build, lots of challenges, not to mention it's just huge. Very fun to follow along, it looks like you'll be having a fire before too long here. Amazing work.
|
|
morticcio
Full Member
"The problem with internet quotes is that you can't always depend on their accuracy" - Aristotle
Posts: 371
|
Post by morticcio on Nov 4, 2014 5:05:32 GMT -8
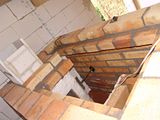
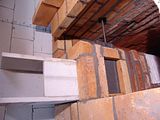
Great work Radek. I like the way you turned the bricks 90° to make a shelf for the cap of the first bell to sit on.
A couple of questions...
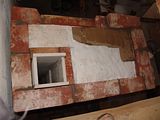
In this picture the ceramic blanket covers the cap of the first bell - is the cap made from cast refractory or fire brick?.
Did you use refractory adhesive to stick the ceramic blanket in place?

What grade ceramic board did you use to line the stack between the two bells and how did you fix it?
Many thanks, Andy
|
|
radek
Junior Member
Posts: 94
|
Post by radek on Nov 6, 2014 8:16:46 GMT -8
yes Matthewwalker lots of chalenges been ovecome with this stove,actualy i like chalenges ,what doesnt kill you,makes you stronge ,some says.So im almost done with building, now will come the fun part of plastering the stove and some playing with finnal design.The chimney will be done by someone alse,it will be triple wall stainless steel chimney about 7m tall starting on top of the second floor bell.That bell by it self is 1m tall so i guess there will be around 8 m of active chimney- starting from the floor of the second bell.I have a question thou, the vertical channel connecting the first floor bell to the floor of second floor bell is around 3.2m tall,so should this 3.2m be added in to the active haight of the chimney,not sure about it.But right now -no chimney-when i light a paper in the fire chamber -no door-the smoke is easylly finding the right way up the connecting channel.Good sign.
Andy yes i like to do the shelf this way,its easy and the top of the bell could be exchanged in the future if necesery,because the top slabs are not build in to the skin.it just flows in the fire wool on top the shelf.
Your first question-none of this two,,normaly i would use fire brick slabs just because they are easy to get around here.But for this stove i wanted something lighter and with less mass-acumulation.So i have used
synthetic cordierit ceramic slabs.This material is quite pricey,but i have found recicled ones for really good price .http://s101.photobucket.com/user/snake11112/media/two%20story%20stove/DSC04831_zps8497ad37.jpg.htm
For sticking the fire wool to anything ,i just use fire clay slip.Im sure ordinary clay slip would work as well.
For lining the vertical channel i have used something called Silca aroud here.Basicaly its a calcium silicate board rated up to 1250C.I have used some kind of fire glue witch comes and is suggested for the calcium silicate board,one thing thou,the boards are really dusty,so you have to wet it a lot before aplying the glue.Than i used three screws on each side of the 1m long section.
hope i could help
|
|
|
|
Post by shilo on Nov 6, 2014 9:47:04 GMT -8
|
|
radek
Junior Member
Posts: 94
|
Post by radek on Nov 6, 2014 12:19:38 GMT -8
|
|
|
|
Post by ericvw on Nov 11, 2014 18:25:44 GMT -8
Hello radek,
What is the purpose of the gap near the feed door in the fire box? Primary air, or air wash to keep door glass clean? Really great work, too!
EVW
|
|
radek
Junior Member
Posts: 94
|
Post by radek on Nov 12, 2014 8:38:16 GMT -8
hi Eric
there are two slots on each side of the fire chamber right behind the door.Yes,they are for the primary air.The problem around here i keep coming too,are really well insulated houses.So,usualy i have to bring the external air straight in to the fire chamber to avoid draft-cross wind-in the room.You can see on the right side of the stove a pipe which will bring in the external air ,first under the fire chamber and than thru this slots into it.The pipe will be connected to chanel and to outside.We had to have a hole driled thru the 80cm thick rock wall.The hole for the air is 12cm D . i guess i have seen it done this way by Alex Chernov.
|
|
|
|
Post by ericvw on Nov 12, 2014 15:15:31 GMT -8
Hi radek,
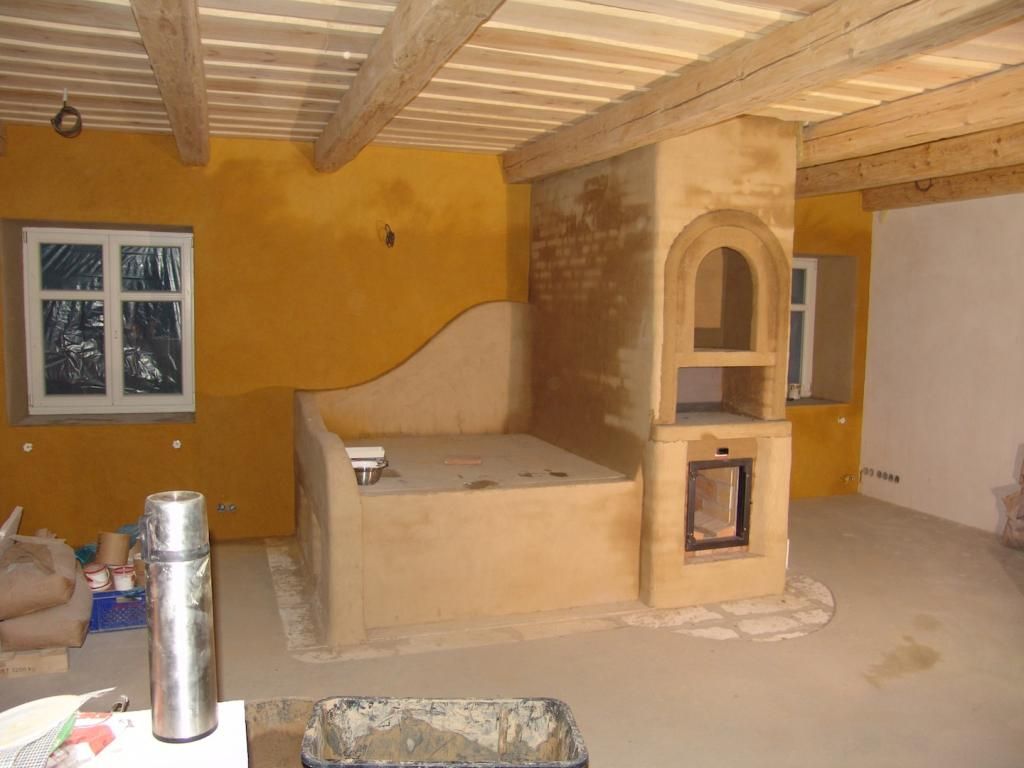
Thank you for the timely explanation. Our house is not so tight, so I suppose I won't go that direction.... Just thought maybe it also involved air washing the glass. Say, your 2nd most recently finished heater, the one with the white plaster finish- can u share your recipe for that mix, or is it a trade secret?! Either way, I really like it, and I know it would help the w.a.f.!
I appreciate your response and sharing your experience.
Eric VW
|
|
radek
Junior Member
Posts: 94
|
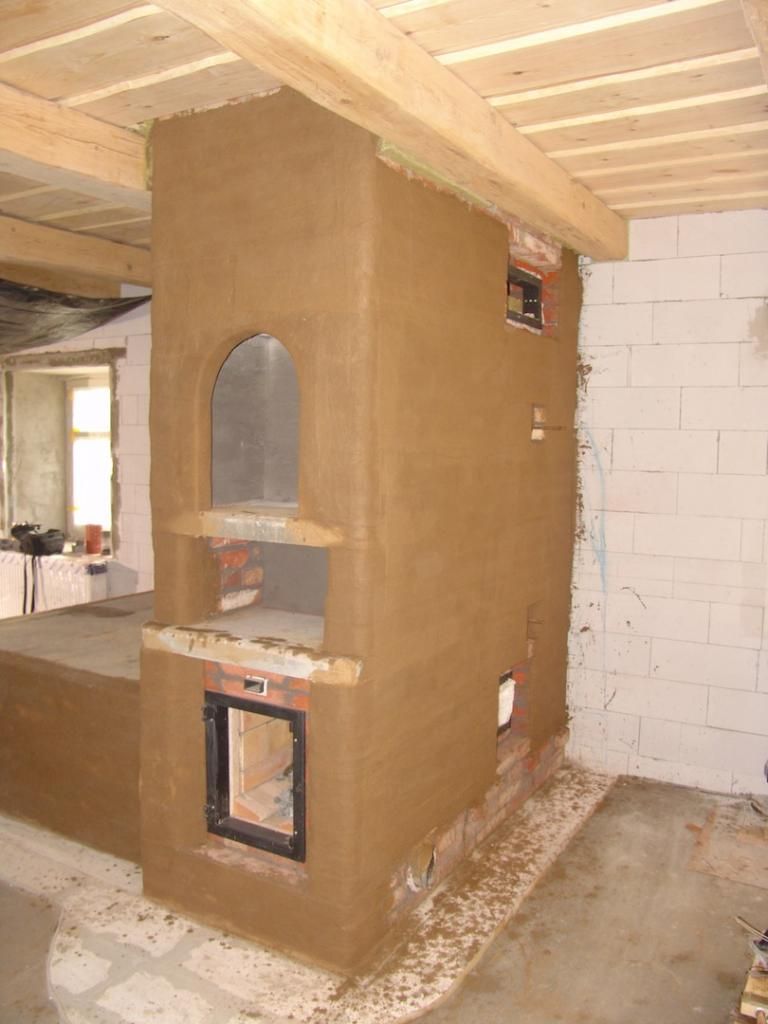
Post by radek on Nov 15, 2014 3:38:02 GMT -8
Hi Eric VW
no trade secreds here,The bottom part of that heater-the part made out of red brick-was wraped in to Jute-Burlap-cloth.Basically i dip the burlap cloth in to a water ,squesed it out, than dip in to some clay slip,and stick it to the wall of the heater.Than by hands just smooth it out so the structure of the brick under it is somehow visiable.After that i took some clay slip and brushed it on top of of the burlap so the holes in the mesh would get covered.After it did dried out whole heater was painted will realy good quality Lime -5 years old.No, i didnt make the lime my self.
The top part of that heater-the part build out of fire bricks -has some fire mesh first,followed by plaster made out of fire clay and sand.1-3.Than painted with lime.
How you can see in the picks above,im wraping this heater in the burlap cloth as well.I somehow like it ,and it makes a realy good base for thin layer of finnish clay plaster.
|
|
radek
Junior Member
Posts: 94
|
Post by radek on Nov 28, 2014 2:17:24 GMT -8
|
|
|
|
Post by satamax on Nov 28, 2014 3:29:41 GMT -8
|
|
|
|
Post by matthewwalker on Nov 28, 2014 9:48:29 GMT -8
Fantastic Radek, thank for keeping us up to date. You should be very proud, it's an amazing build. I'm sure you'll be glad when it's all done!
|
|
morticcio
Full Member
"The problem with internet quotes is that you can't always depend on their accuracy" - Aristotle
Posts: 371
|
Post by morticcio on Nov 28, 2014 11:50:32 GMT -8
Looks great Radek - a work of art. What finish will you have on this one?
Don't forget to take some photos when you get round to lighting it :-)
|
|